Scratch render is a cementitious material which is applied to walls in order to achieve a distinctive, textured appearance. It is tough, attractive, and can disguise minor imperfections on surfaces. In this article, we outline scratch rendering, its advantages, and why it is a preferred option for both residential and commercial buildings. Scratch rendering is a highly desirable technique that the Australian Rendering Company can provide for renovations and new builds alike.
What is Scratch Render?
Scratch render is essentially a form of plaster made using cement, sand, and water. Additives can be included for enhanced workability, strength, or curing time. The name “scratch” is derived from the finish method: the surface is scratched with a tool after a coat of render has been applied and is still wet. This creates grooves, lines, or patterns, making the wall textured.

Composition of Scratch Render
- Cement: The vital core ingredient is Portland cement. It binds, or sticks, the mixture and gives it some structure.
- Sand: Sand is a filler and provides bulk. Texture and workability vary depending on the sand type. Fine sand makes for a delicate finish, while coarse sand increases density.
- Water: This activates the cement and allows the mix to be worked. The proper water-to-cement ratio is necessary for sufficient hydration and strength development.
- Additives: These are not always used but can enhance specific characteristics. For example, polymers add flexibility and minimize cracking. Air-entraining admixtures enhance resistance against freezing and thawing.
Tools Required
You’ll require the following tools to use scratch render:
- Mixing Tools: A wheelbarrow or mixing tub and a shovel or hoe for mixing the materials. A power mixer can make short work (pun intended) of the job and the mix will be more uniform.
- Trowel, Hawk: A hawk (smooth, flat, hand-held board) to hold the render and a trowel to apply it to the wall. And, you can create a variety of looks with different trowel sizes and shapes.
- Scratching Trowel: These are what provide the scratch render appearance. These might be notched trowels, combs, nails fixed to wood, or even tools you have designed yourself. Which decision you make will depend on the pattern you are looking to achieve.
- Other Tools: Levels, plumb bobs, measuring tapes, safety glasses, gloves, and dust masks are also crucial for prep and safe application.
How to Apply: Step-by-Step Process
There is a process to how scratch is applied, from pre-scratching down to the final scratch. Preparation and details are crucial to ensure a long-lasting and attractive end product.
Surface Preparation
- Clean: Clean the surface you are working with to get rid of all the dirt, dust, oil, and loose debris. It can be cleaned with a pressure washer, or a stiff brush and water.
- Repair: Patch any cracks or holes. Ensure that the surface is level and structurally sound.
- Primers: Apply a primer or bonding agent for better adhesion. This is crucial, especially on slick or non-porous surfaces. Apply and dry per the manufacturer’s recommendations.
Mixing the Render
- Ratio: Maintain an appropriate balance between cement, sand, and water. The ratio is typically 1 part cement to 3 parts sand, although it can vary depending on the product. As always, consult with the specific manufacturer of the product.
- Mixing: Pour the dry ingredients into a mixing tub. Mix with water gradually and knead it well to get a workable dough. The batter will be thick enough not to spread, but still spreadable.
- Consistency: Test the consistency by scooping some render onto your trowel. Too wet if it slumps or runs. If it’s crumbly, it’s too dry. Just add or subtract water content.
Applying the Base Coat
- How to apply: Apply with a trowel in one thin, uniform layer on the prepared surface. Begin with the lowest and climb up. Push hard and make sure it sticks.
- Thickness: The base coat should be 6-10mm thick. You can test the thickness as you spread with a gauge or marker.
- Level: Check level or use a straightedge, to ensure the surface is level and even. Smooth off any waste render with your trowel.
- Drying: The base coat should dry for 24-48 hours or according to the manufacturer’s instructions. Spray down the surface with water from a spray bottle occasionally to keep its surface damp. This is to avoid splintering and to encourage even hydration.
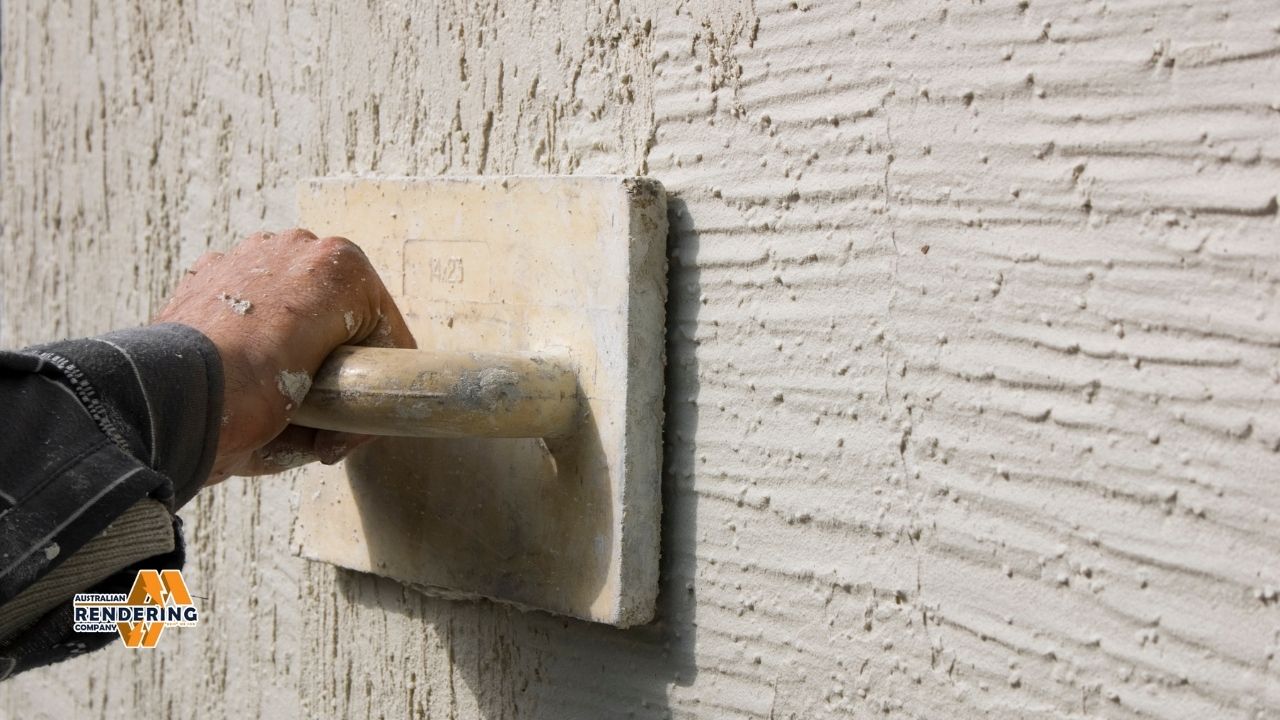
Scratching the Texture
- Timing: The scratching process is time-sensitive. The render should hold its shape, but be wet and sticky and easy to scratch. This is normally a couple of hours after the base coat, but it depends on the weather.
- Method: Use your favorite pointy thing to make a texture of choice. Keep the tool at an even angle and press consistently. Overlap each stroke slightly to prevent streaks or lines.
- Patterns: You can try various scratching patterns to produce different effects. Lines, swirls, cross-hatch, or random lines are all acceptable. The secret is to have a uniform method all over the surface.
- Depth: The deeper the scratch, the more it adds to the final appearance. More or less coarse scratches result in less or more contrast, respectively. Practice on a small section to see how deep you like it.
Curing the Scratch Render
- Damping: Keep the scratched coat moist for 3-7 days. If it’s hot or dry, spray it down with some water a few times a day. This will help prevent the render from drying out, shrinking, and cracking.
- Protection: During curing, the surface should be protected from direct sun, wind, and rain. Layer plastic sheeting or wet burlap on top of it, if necessary.
- Inspection: Periodically inspect the render to make sure it has not cracked or exhibits other damage. Do not allow them to escalate.
Benefits of Scratch Render
Scratch render has a number of benefits that make it superior to smooth render or other choices for wall finishes. These are aesthetic, durability, and ease of maintenance.
Aesthetic Appeal
- Texture: Scratch render provides an interesting and deep finish to walls. The surface is textured to take and diffuse light, which adds even more interest and beauty.
- Personalization: Scratching can be very personalized. Various tools and patterns are available that will allow you to do exactly that and to develop works that mirror your unique personal style.
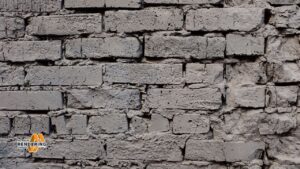
- Camouflaging Flaws: The texture can hide surface imperfections in the wall below. This makes it a viable option for older homes and walls that are not all even.
Durability and Longevity
- Resistance to Weathering: Renders made of cement are extremely weather resistant. They can be exposed to sun, rain, wind, and temperature changes without becoming brittle!
- Resistant to Impact: Scratch render is able to withstand impact better than smooth paint or plaster. The indented surface helps to disperse the force of impact, limiting the risk of breaking or denting.
- Ease of Care: Once the scratch render has been applied and cured, it will require a minimum amount of work to maintain. It doesn’t require painting or sealing and can be easily cleaned with water.
Cost-Effectiveness
- Cost of Materials: The scratch render materials are low cost and easy to purchase. This makes it a more affordable solution for walls.
- Labor: It can be labor-intensive to apply, but not with any super specialized skills. This also helps in labor costs against other wall finishes.
- Savings in the Long Run: Scratch render is long-lasting and demands little in the way of maintenance, making it a cost-effective option in the long run. You won’t need to repaint or repair the walls as frequently, which will save you money in the long run.
Typical Problems and How to Prevent Them
As with any building product, scratch render can have issues if not installed as it should be. Being aware of these problems and the methods of avoiding them is essential to a durable and aesthetically pleasing finish.
Cracking
- The cause: There are a few factors that could have led to the cracking, such as poor mixing, fast drying, or settling in the foundation.
- Prevent: Ensure the render is mixed with the correct ratio of water to cement. It is important to keep the surface wet during curing. Make the wall sound before you render it.
- Solutions: Fill small cracks with patching material. Bigger gaps might need to have the render cut back and re-rendered in this section.
Uneven Texture
- Causes: Texture is uneven with irregular application of the basic scratching of the tool or difference in base coat thickness.
- How to prevent it: Use a constant scratching pattern over the whole of the surface. Monitor the thickness of the basecoat and adjust as necessary.
- Solutions: If the texture is only slightly uneven, it might be possible to smooth it out by applying a new coat of render (sand and cement or plaster finish) that has a greater ratio of fine to coarse material. If lumps and bumps are too pronounced, this might mean scraping off and re-rendering.
Poor Adhesion
- Cause: This will happen if the surface has not been effectively prepared or if not enough pressure was used when the render was applied.
- Preventative: Surface should be cleaned thoroughly and then a bonding agent or primer applied. You need to push the render on quite solidly so that it would stick.
- Solutions: If the render is “bubbling” or starting to peel or flake away, it must be stripped away and reapplied with the correct surface preparation.
Scratch Render vs. Other Rendering Techniques
There are various rendering methodologies, each with their own aesthetic and functional characteristics. By comparing scratch render with those alternatives, you are able to make a decision based on the product, performance criteria, and your own project requirements.
- Acrylic Render: Acrylic-type rendering is so-called due to the presence of acrylic resins that make the render more flexible and less likely to crack. Though it has good visual appeal and is available in a range of tints, screed render may not give the same natural texture finish as scratch render. Acrylic Rendering Australian Rendering provides a seven-year guaranteed acrylic rendering solution.
- Cement Render: Cement render is the same as scratch render but without the scratching line, delivering a smooth, flat surface. It’s strong, more cost-effective but doesn’t have the lovely textured finish of scratch render. Cement Rendering Cement render is ideal substrate for painting or other finishes.
- Polystyrene Cladding: Polystyrene cladding is where you stick polystyrene panels to the wall and then render. This method provides good thermal insulation and can lead to energy savings. Although other renders like acrylic and cement can be used on polystyrene cladding, they are mainly for insulation rather than texture.
Uses for Scratch Render
Scratch render is used widely for its flexible durability and aesthetic flexibility. Its beautiful textured finish adds character to any interior or exterior walls.
- Residential Buildings: It is found in homes as retaining walls, foyer walls, and so on. Its coverage is good for camouflaging imperfections, so it’s good for older homes or walls with slight damage. Its texture makes it more interesting to look at in living spaces.
- Commercial Buildings: In terms of commercial buildings, scratch render is a durable finish, ensuring it’s hardwearing to a high standard for heavy-duty use. It is a popular choice for office buildings, shops, and restaurants. The texture can be personalized to adhere to the business’s brand and atmosphere.
- Decorative Purposes: Artistic Application: Scratch render is to be applied manually by skilled artists or designers for textured art, sculptures, wall murals, etc. The scratching method is capable of a variety of patterns and drawings, which is a pretty good way for artistic creation.
How to Maintain and Look After Scratch Render
Looking after scratch render is easy when you follow a few basic steps to help keep it looking great. Routine cleaning and repairs can make a difference, reducing damage and maintaining the surface’s best appearance.
Cleaning Techniques
- Wash: Scrub the surface of the scratch render with mild detergent and a soft brush or sponge. Stay away from harsh chemicals and abrasive cleaners to keep the texture looking fine.
- Pressure Wash: To remove stubborn dirt or stains, use a pressure washer with a low power setting. Ensure the nozzle is kept away from the render to avoid damaging it.
- Spot Clean: Take care of spills and stains immediately to avoid setting up of the same in your doormat. Tap the affected part with a clean cloth or sponge.
Repairing Damage
- Cracks: Small cracks can be filled with patching material. For bigger cracks, cut out the damaged render and fill with fresh.
- Chips: Chips can be repaired by patching over with a thin layer and re-scratching to match surrounding texture.
- Water Exposure: All water leaks and dampness should be resolved in a timely manner to avoid any damage to the render. Repair any problem areas, and seal it to prevent water from penetrating through.
Locating a Qualified Scratch Render Applicator
Employing a specialist applicator is crucial in achieving a long-lasting, more appealing scratch render finish. A pro will have experience, the right tools, and know-how to properly prep surfaces and mix materials. This ensures that the project is done properly.
Credentials and Experience
- Check Qualifications: The applicator should be licensed and insured. This indemnifies you from liability for accidents or damage.
- Review Portfolio: Request to see projects they have completed. That gives you a sense of their ability and style.
- Request References: Reach out to former customers to get firsthand information about the applicator.
Materials and Techniques
- Durable Materials: The best applicator is made of high-quality materials. This serves as a long-lasting, good-looking render job.
- Good Workmanship: They have the correct method of surface preparation, the right render mix, and know how to apply the scratch finish. This results in long-lasting completion.
- Tools and Equipment: Equipment is appropriate for the task. This comprises of stirrers, applicators, and scratchers.
Cost and Timeline
- Obtain Quotes: Obtain quotes from more than one applicator. This will allow you to compare prices and get the best deal.
- Establish a Timeframe: Discuss the timeframe of the project. A professional gives a reasonable time frame and sticks to it.
- Contract: Put the scope of work, materials, price, and schedule in a contract. This is also for your protection as well as the applicator’s.
The Importance of Professional Use
Having a pro do your scratch render makes a huge difference. They can assist you in choosing from the best designs and making sure the materials are in place and rendering so that it is preserved for years. This translates to a stunning, long-lasting finish with none of the anxiety of DIY.
Factors Affecting the Cost
- Field Size: Smaller fields cost less because they require less material and labor.
- Surface Prep: The more work required of the surface, the higher the cost.
- Complexity of Design: The more complex your design (that means the more it involves in both skill and time), the more expensive it gets.
Scratch Rendering Finishes
The beauty of texture
Scratch coat texture has become a popular and decorative texture for surfaces, because it can simulate a variety of looks and can also provide a more tangible surface of contact. Whether you are renovating an existing home, or creating a new space, scratch render is also a firm favorite for introducing character and personality. Not only is it durable and virtually maintenance-free, but it also adds aesthetic appeal, adding market value to your home.
Final thoughts
Scratch rendering techniques to frame or refurbish a building From the regular to the finely detailed, scratch rendering gives any building a pleasing aesthetic and captivating design. Investing hours to hunt for an ideal professional applicator can ensure that the project would be a hit and time well-spent; and you would be loving the facelift of your place for the years to come.