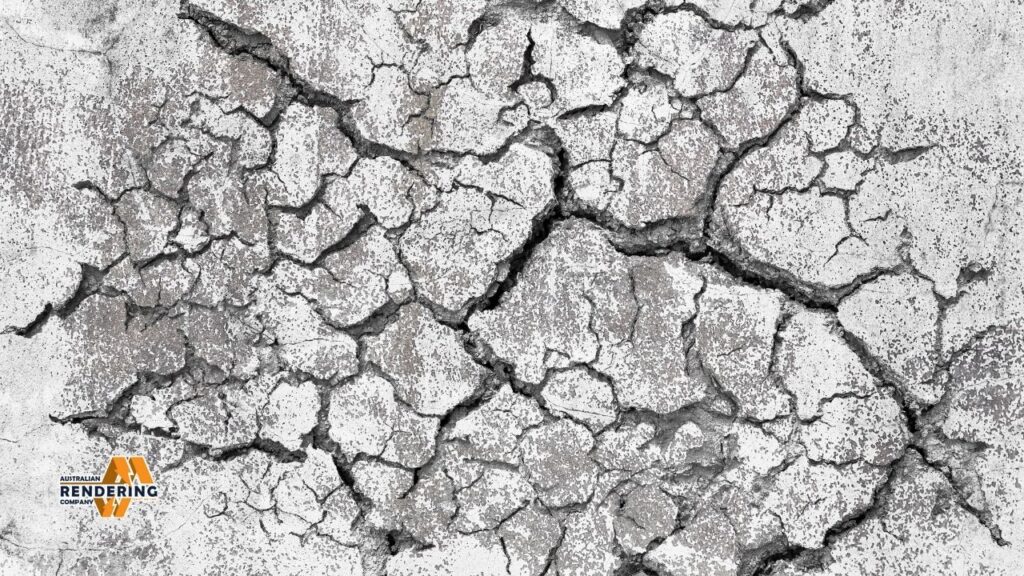
Cracks in render can be unpleasant – but that’s not all it is. Instead, cracks can be a symptom of an underlying problem that if ignored, can get much worse. This article looks at the causes of render cracking, what to look out for when inspecting the damage, and how to repair cracks in render, with guides for each step of the process. Whether you just have some hairline cracks or more extensive damage, this article covers what you need to know about rendering repair.
What Causes Cracks in Render?
Possible causes of cracking in render: There are many reasons why render may crack. It’s crucial to determine the cause before you start any repair work! The ‘why’ is as critical as the ‘how’ in render repairs.
- Shrinkage: As render cures, it contracts naturally. This contraction can induce tension, particularly across wider spaces, resulting in cracking.
- Motion: Buildings sink and shift over time. This will apply forces to the render work and can cause cracks in render.
- Bad Mix: A mix of materials that is not right can cause the render to become weak and prone to cracking. The Australian Rendering Company makes the all-important point about the importance of correct mix ratios for durability with the know-how of 30 years in the game.
- Weather: Large changes in temperature or repeated freeze-thaw cycles and prolonged exposure to moisture can also cause render to crack.
- Issues with the substrate: Cracked render could be a result of an issue with the surface beneath it (substrate) such as unstable brickwork or failure to adequately prepare the surface beneath the render.

Types of Cracks in Render
Different types of cracks mean different types of problems. Identification of these patterns helps in diagnosing their cause and treating them accordingly.
- Hairline Cracks: These are tiny, very thin ruptures that are usually less than 0.039 inch and are visible only under a microscope. Hairline cracks in render are fairly common and are usually due to the product drying and shrinking.
- Structural Cracks: These are larger, usually more than 3mm across, and can be diagonal or vertical in nature. Cracks that suggest a shift in the foundation of the building are structural and should be evaluated by a professional.
- Pattern Cracking: This cracking is in some kind of organized pattern that repeats itself, a grid or a map. Indeed, cracking in patterns is commonly caused by problems with the substrate under the render.
- Impact Cracks: These cracks are due to physical impacts on the render surface. The appearance is varied, but the source is often clear.
Assessing the Damage
Before repairing cracked render, it’s important to inspect the damage in detail. This includes a careful inspection of the cracks as to type, size, and spread.
- Clean Up: Loose debris, dirt and algae will need to be cleaned off around the cracks.
- Examine the Cracks: Look at the size, length and pattern of the cracks. Cracking width gauges should be used for precise measurements.
- Look for Hollow Spots: Tap on the render around the cracks to check for hollow spots, which will indicate gaps between the render and the masonry.
- Diagnose the Source: Use the information above to trace back to the most likely origin of the cracking.
Cracked Render: Everything You Need to Know (Step-by-Step Guide)
Below we have listed a step-by-step guide on how to repair cracked render. These approaches are appropriate for small hairline or non-structural cracks. Structural cracks should be taken care of by professionals.
Tools and Materials
First, you need to get some stuff:
- Scraper or chisel
- Wire brush
- Dust brush
- Mix-your-own or pre-mixed render blend
- Cement
- Sand
- Water
- Mixing trowel
- Hawk
- Float
- Sponge
- Safety glasses
- Gloves
Preparing the Surface
- Take Away Loose Render: Grab a chisel or scraper and start taking off any loose or flaking render from the crack area.
- Clean the Area: Clean the area with a wire brush and dust brush to clear away debris, dirt, and algae.
- Water the Surface: Spray down the surface with water. This is to make the new render bond properly.
Mixing the Render
- Follow Instructions: Most of the time, if you’re using a pre-mixed render, you should just follow the manufacturer’s instructions in terms of mixing.
- DIY: If making your own render, make sure to mix the cement, sand and water in the right amounts. A common mix ratio is 1 part cement to 3 parts of sand. Add water in small amounts until you reach a smooth dough.
Applying the Render
- Add the First Coat: Apply a thin coat of render to the cracked surface with a trowel. When the cracks are filled, pack the render in with the heel of your hand.
- Scratch the First Coat: Scratch the surface of the first coat with a nail or similar tool. This gives a “key” for the second coat to stick to.
- Let Dry: After 24-48 hours, the first coat is dry.
- Second Coat: Apply a second layer of render onto the patch area to bring the surface flush with the rest of the render.
- Floating the Surface: Use a float to level off the surface of the render so that it becomes flush with the surrounding wall.
Finishing the Repair
- Curing the Render: Dampen the repaired section for a few days in order for the render to cure in the right way. You can achieve this by watering it down daily or covering it with plastic sheeting.
- Clean Up: Clean the section thoroughly and also discard of any leftover waste as the render should now be completely cured.
Fixing Render: Types of Cracks Split/Crack
Regardless of the type of crack you are dealing with, any cracks that are not fully through the render should be fixed in the following way.
Slightly different techniques may be helpful for various types of crack.
Repairing Hairline Cracks in Render
A flexible filler is suitable for hairline cracks in render. Run the filler along the crack with a caulking gun, forcing it in as you go. Smooth filler with a wet finger or sponge.
How to Fix Crumbling Render
How to mend cracked render isn’t as simple as just applying a new coat of render – the first thing to do is remove all the damaged render right down to solid material. This might include cutting out larger areas & applying render in several layers to achieve a build-up.
When to Call a Professional
And while there are DIY fixes for minor cracks, some cases call for pro help. When to call in the experts for cracked render repair:
- Cracks are structural
- There is extensive damage to large areas of render
- It makes you nervous to work high up in the air
- Not sure why it’s cracking
Is It Possible to Fix Render Yourself?
Yes, you can fix render yourself if the cracks are not too big and aren’t structural. But for more serious damage or structural problems, it’s a good idea to call in a pro. If you are in Melbourne, Australian Rendering Company provides a 7-year warranty on their render repairs.
Preventing Cracks in Render
It is better to be safe than sorry. There are a few things that can reduce cracking in render:
- Use high-quality materials.
- Check the Mix: Make sure you are using the right mix of render.
- Prepare the surface well before rendering.
- Render in the right weather.
- Keep the render clean; any filth can be removed with regular cleaning, this will help avoid any small repairs.
- Repair Rendering and maintenance over the next few days: Keep it well maintained: Regular maintenance of your render can prolong its life. And that means taking care of the surface from the get-go to avoid the collection of dirt and algae, and making any necessary repairs quickly should any damage occur. Being able to fix up render yourself for small things can definitely wind up saving you time and money in the end.
Why Render Repairs Should Not Be Ignored
Dealing with cracks in a timely manner ensures that water does not penetrate through as it can result in additional damage, such as the rusting of sub layers or the formation of mold. This process comes with multiple benefits; it will keep your renders looking good, retaining their structural integrity, and allow you to fix render cracks before the problem becomes much worse.
Cracks in Render – What Are They and How to Fix for Good?
Consider what caused the cracks in the first place, beyond the first fix. Correcting the problem at its source, whether it’s poor drainage, shifting ground or insufficient expansion joints, is important to stave off future issues. Perhaps you may need structural repair, enhanced waterproofing or changes be made to the render system for full resolution for the long term. It is also a good idea to know what causes render cracks.
You might want to read up on Render Repair: What It Costs.
The price of repairing render will depend on the extent of the damage, and if you decide to hire a professional. The repairs get done for cheaper, but it takes time and labor to save on money. Professional repairs are more expensive but offer the benefits of expertise and a guarantee. Get quotes from several contractors to make sure you’re not overpaying. It will depend on what the render repairs required are.
Part of the problem is that some repair techniques — including flexible fillers that allow some movement —are only temporary solutions for hairline cracks. “A crack that is going to move has to be permanently fixed,” Mr. Loporto said. For heavier damage, a plastering fix solution would be to scrape off damaged render, repair the cause (if required) and then re-render. Select the best method for the extent of damage and as per your long-term objectives.
Repairs to Render: Texture Matching
When replacing render, you should aim to replicate the appearance of the existing render to the extent practical. This will make for a perfect repair that will fill in and match the existing surface. As with all such products, you may need to experiment a bit with the best application technique and color tint for a perfect match.
What to Do After Repairing a Render Crack
After a render crack repair is done, it is important to watch the area for any remaining and emerging cracks. If the cracks return, it could be a sign of a larger problem and should be looked into more closely.
Your Render Can Crack After Repair, You Need to Know Why
Once cracks are sealed, monitor the area that has been repaired. If you notice additional cracks developing, you might have a larger issue. It’s useful to be aware of why render cracks so you can prevent the problem returning.
How to Repair Rendering
Take this guide as a process of render repair to find the best render repair solution. Repairing rendering can be stressful, but there are easy solutions with the right tools and information. Read on to know the most important points you need to keep in mind while fixing cracks in your render.


