Re-coating pebbledash can be a way to give your house a new look. Some pebbledash houses have a smooth render surface, but it’s not always easy. This article describes how to resurface pebbledash, what to consider, and best practices that result in the best performance.
What is Pebbledash?
Pebbledash is a rendered wall finish in which the top coat is textured by pebbles being thrown at the wet render. It’s created by casting tiny pebbles onto wet plaster. This creates a rough, bumpy texture. It used to be pretty popular. Now, some homeowners want a more built-in look, so they consider covering over it.
Why Render Over Pebbledash?
There are plenty of reasons for pebbledash rendering:
- New Look: Render provides a new, modern look.
- Repair Damage: It has the ability to camouflage cracks and broken things.
- Improved Insulation: Some renders provide extra warmth.
- Adds Value: A solid render job can increase the value of your home.
Can You Plaster Over Pebbledash?
It is possible to render over pebbledash, but it needs careful work. The pebbledash isn’t smooth. That can make it difficult for the new render to adhere. Without proper measures, the render could easily crack or peel.
What To Consider Before Rendering
Here are some things to consider before you start:
- Is the pebbledash in good order?
- Render Type: What type of render will adhere?
- Weather: Is it rendering weather?
- Cost: How much will it cost?
How to Render on Pebbledash: Step by Step
Here’s what to do when rendering over pebbledash:
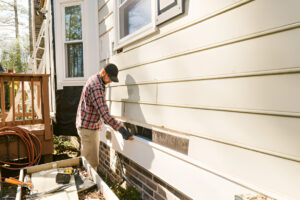
- Prepare the Surface: Clean the pebbledash using a pressure hose. This removes dirt, moss, and loose pebbles.
- Chisel off Loose Pebbles: Chisel off any loose stones with a chisel and hammer. You definitely want a solid base.
- Apply Bonding Agent: A bonding agent makes old pebbledash bond with new render. Use the manufacturer’s instructions.
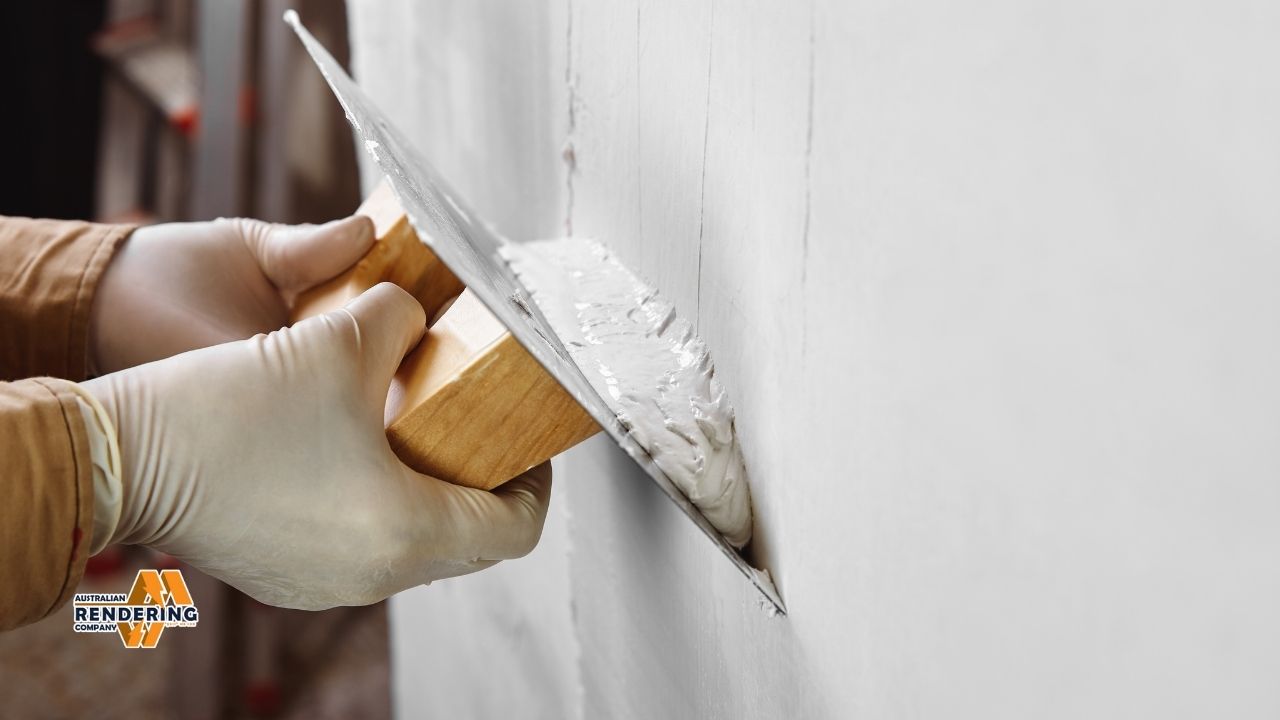
- Cover In First Render Coat (Scratch Coat): Mix the render you’ve chosen as per the instructions on the bag. Apply a thin, even coat. Rake one side of the surface with a trowel. This provides the next coat with something to catch onto.
- Cure: Allow the scratch coat to cure for the time recommended by the manufacturer. This could be a few days.
- Second Render Coat (Top Coat): Apply the second coat of render. Make it smooth and even. Use a clean trowel.
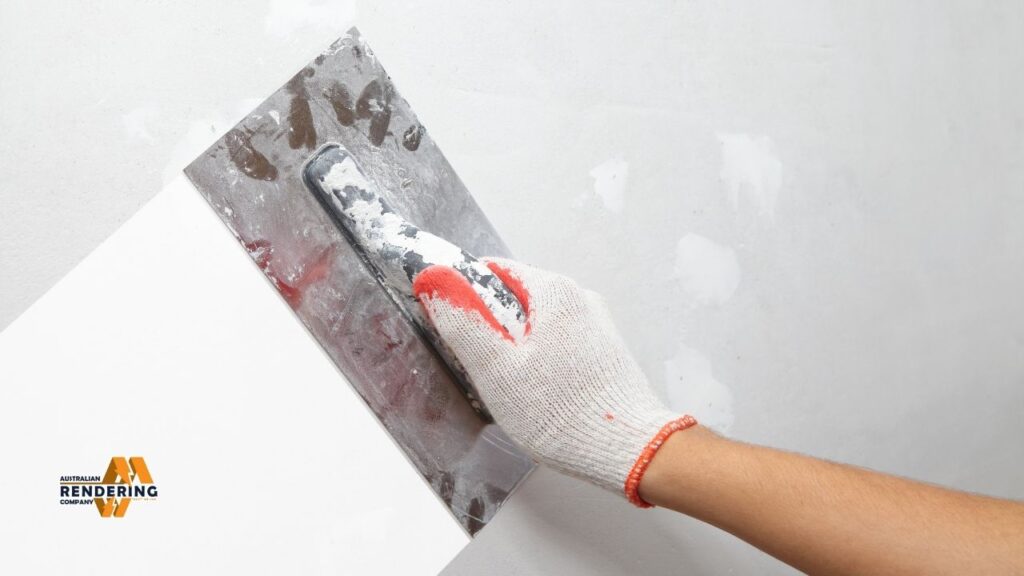
- Finish the Surface: The surface can be finished in several ways. Some like a smooth finish. Some like a bit of a grainy texture.
- Cure Again: Allow the top coat to dry slowly. This might take several days to weeks.
- Paint (Optional): Once the render finish has hardened perfectly dry, you can paint it. Use a paint made for render.
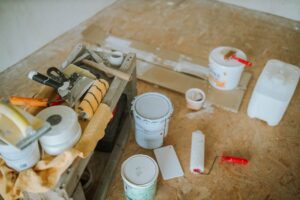
Tools You Will Need
- Power Washer
- Chisel
- Hammer
- Mixing Bucket
- Drill with Mixing Paddle
- Trowel
- Hawk
- Float
- Ladder or Scaffolding
- Safety Glasses
- Gloves
Materials You Will Need
- Bonding Agent
- Render Mix (check types below)
- Water
- Paint (Optional)
Types of Render to Use
Which render to pick is vital. Here are some good options:
- Polymer-Modified Render: This type has added polymers. These make it more robust and flexible. It sticks well to pebbledash. It is less likely to crack. It is also a popular material to use for rendering over pebbledash.
- Cement Render: Strong and cheap, cement render is used all over the world. But, if you don’t paint it on properly, it can crack. It does require a good bonding agent and proper mixing.
- Acrylic Render: Paint-on acrylic render is flexible and waterproof. It’s great for places where it rains a lot. It adheres well and provides a good finish.
- Lime Render: Lime render is another alternative. It lets the walls breathe. This can help stop damp. It’s good for older homes. But it requires a certain set of skills to apply.
Australian Rendering Company is a company providing professional rendering across Melbourne. They do acrylic, cement and cladding work. They provide strong, clean finishes on new construction, remodeling and repair work for 30-plus years. They offer a 7-year guarantee on all of their work. You can contact them on 0465 444 747 or contact@australianrenderingcompany.com.au.
Why Can’t I Apply Render Over Pebbledash Myself?
Yes, you can render over the pebbledash if you’re handy at DIY. But, it’s hard work. It needs skill and care. If you aren’t certain, it’s safest to call in a pro. It takes a pro to do the job right. This could save you both time and money in the longer term.
When to Hire a Professional
Hire a pro if:
- You are not good at DIY.
- The pebbledash is in poor condition.
- You want a perfect finish.
- You lack the time and the tools.
How Much Does it Cost?
The price to render over pebbledash varies. It depends on:
- The size of the area.
- The type of render.
- Where you live.
- If you hire a pro.
Get some quotes from rendering companies. This will help you compare the best price.
Saving Money on Rendering
- Roll up your sleeves and do some of the work yourself (such as cleaning).
- Obtain quotes from a few companies.
- Pick a cheaper render.
- Do the work in good weather.
Problems and Fixes
There can be issues with rendering over pebbledash. Here are some issues that are common, along with fixes:
- Cracking
- Problem: The render has developed cracks.
- Fix: Use a flexible render. Prepare the surface properly. Put the render on in layers until it is smooth.
- Render Falling Off
- Issue: Pebbledash tie-coat not agreeing with the render.
- Fix: Pay a little more for a superior bonding agent. Clean the surface well. Chip off loose pebbles.
- Uneven Finish
- Problem: The rendered image is “lumpy” or otherwise inconsistent.
- Fix: Use a float to finish the surface. The render does take a while to apply.
Preventing Your Render From Staining
So here is how you can keep your render looking in best form:
- Wash it once a year.
- Fix cracks right away.
- Avoid having plants touching walls.
- Inspect for damage after bad weather.
Tips for a Good Finish
- Take your time.
- Obey the manufacturer’s instructions.
- Use good quality tools.
- Work in good weather.
- Ask for help if you need it.
Will rendering over pebbledash add value to my home?
Yes, rendering over pebbledash can be a good investment for your home. That new, shiny finish looks better. It can even shield your walls. It makes your house more attractive to buyers.
How long does rendering over pebbledash last?
Pebbledash rendering can last many years. It all depends on the type of render, how it’s applied, and how it is looked after. With proper maintenance, it could last 20-30 years or even more.
What season is best to Render?
Spring and summer is the perfect time to render. The climate is warmer and more arid. This allows the render to dry and cure properly. Do not, under any circumstances, attempt to apply render in freezing or wet weather.
Planning permission for rendering over pebbledash?
You might require planning permission. This will vary a lot based on where you live and what kind of work you do. Before you begin, check with your local planning office; this will help you not get into trouble.
How To Select A Best Rendering Company?
Selecting a good rendering company:
- Check their work.
- Read reviews.
- Get quotes.
- Ask questions.
- And ensure they are insured.
Can I paint over the render?
Yes, the rendering can be painted over. Allow to dry thoroughly before painting on your next layer. Use a paint made for render. It will give extra protection to the render and will prevent it from being damaged.