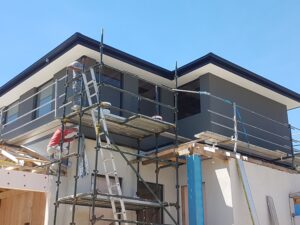
Thin coat rendering is a desirable wall finish because of its slick look and protective nature. This is not traditional rendering, as it involves the thickness and the substances that it uses. In this post, we’ll look at what thin coat render is, how you apply it, and what benefits it brings to buildings.
What Is Thin Coat Render?
Thin coat render represents a wall covering system that normally consists of a thin layer of material (between 0.5mm and 5mm thick) applied externally onto a building. It is composed of synthetic resins (acrylics, silicone) with aggregates and pigments. This combination allows it to remain flexible, waterproof, and vapor-breathable. Thin coat render is more lightweight and less likely to crack due to the fact that it is typically used instead of the heavier and thicker regular rendering (often centimeters thick) that uses cement.
Types of Thin Coat Render
There are multiple types of thin coat render, all with unique properties:
- Acrylic Render: This is a flexible render that is less prone to cracking. Normally employed in areas where movement in the construction is a concern.
- Silicone Render: Water-repellant and versatile. It helps in letting moisture out of the building which reduces the likelihood of dampness. Silicone render is also self-cleaning, giving it a longer-lasting new look.
- Mineral Render: Made from natural materials with a high level of breathability. It is applicable to older buildings or buildings with an emphasis on being green.
- Silicate Render: It provides excellent adhesion and good resistance to algae and fungus. It is commonly used for structures in humid areas.
Advantages of Applying Thin Coat Render
Due to its extensive benefits, thin coat render has several positives that make it a desired choice for building projects:
- Durability: The ability to withstand minor building movements without cracking, thus increasing durability.
- Breathable: It will allow moisture to escape, preventing dampness and other issues.
- Provides Protection: against Rain and Water Damage
- Aesthetic: It is very smooth and new-age looking, and is available in many different colors and textures.
- Longevity: It is long-lasting and a low-maintenance solution.
- Lightweight: It is thin and doesn’t dramatically increase the weight of the structure.
Preparing to Apply Thin Coat Render:
In order to apply thin coat render in a step-wise manner, the surface needs to be fully prepared beforehand. It is vital for the render to bond and endure. Here is a guide to prepare:
- SURFACE: Ensure that the wall is sound, clean, and dry. Clean off loose bits, old paint, or dirt.
- Wash the Wall: Pressure wash or scrub with soap and water to remove dust, algae, or mold from the wall. If there’s mold, use a specialized cleaner to get rid of it.
- Repair Cracks and Damage: Use an automotive-grade filler to fill any cracks and holes. If there are large cracks, the use of patching compound may be needed.
- Apply Primer: Use an oil-based primer made for rendering. This allows the render to adhere better to the wall and gives the finish a well-matched appearance. Make sure primer is dried before proceeding to next step.
- Protect the Areas: Use tape and plastic to mask off windows, doors, and anything else you do not want to get render on.
Thin Coat Render Application: A Step-by-Step Guide
Applying render is a delicate process that requires extreme meticulousness to get right. Follow these tips on how to avoid getting the process wrong:
- Mix the Render: Prepare the render following the instructions from the maker. Mix them well in a clean container with the help of a mixer for a uniform consistency. Slowly add water, enough to make the right consistency.
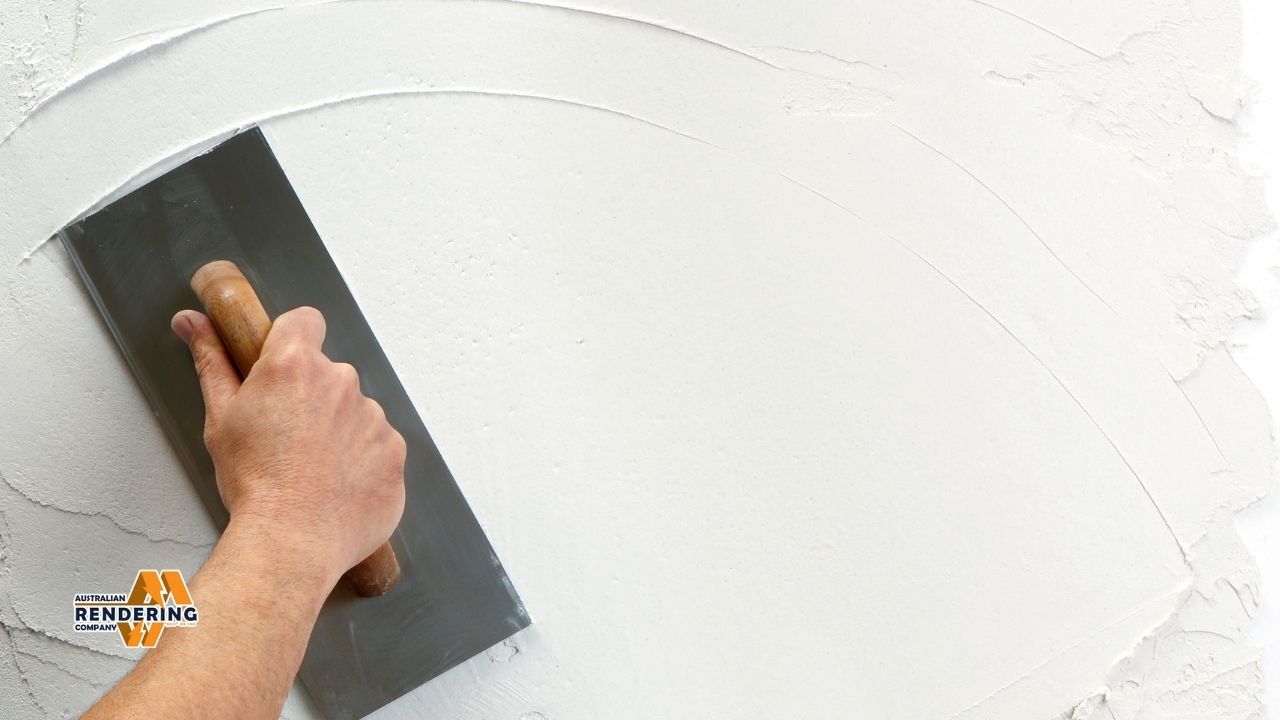
- Step 1: Apply a thin first coat of render to the wall using a stainless steel trowel. Press hard to ensure it sticks suitably. Do it in small pieces and maintain uniform thickness.
- Reinforcement Mesh: As soon as the first layer is damp, insert effortless netting into the foam. This mesh is meant to provide strength and inhibit cracking. You overlap the edges of the mesh by about 50 mm.
- Second Coat: Apply a second coat of render once the first coat is dried out. This layer should likewise be thin and consistent. With the trowel, smooth the troweled surface and fill in low spots.
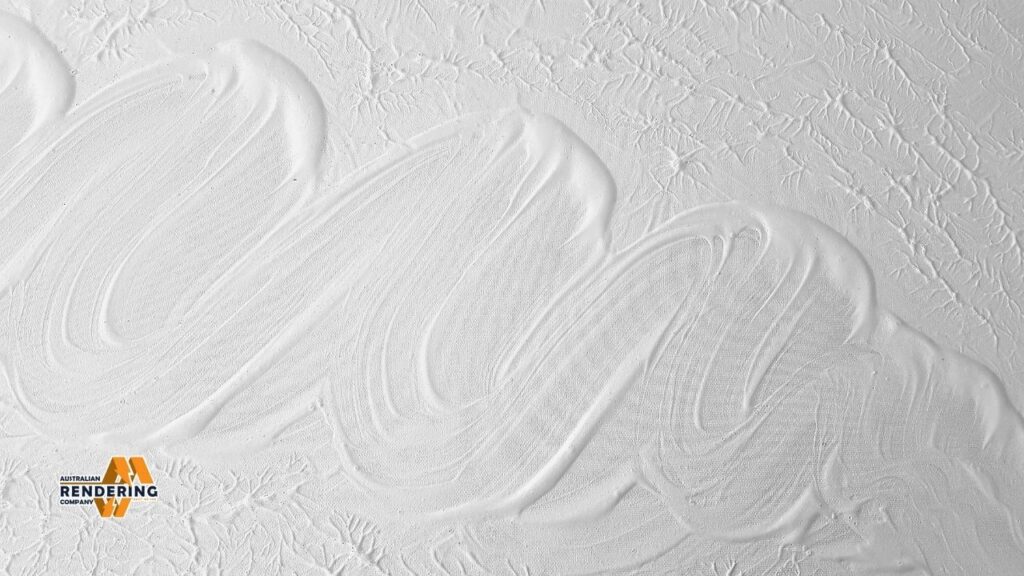
- Finishing: While the second coat is almost dry, use a plastic float or sponge to create the finish you desire. Using various tools and methods, you can create different textures such as swirl or stipple.
- Curing: Allow the render to cure slowly. Don’t expose it directly to sunlight or harsh weather for the first couple of days. A little water spray to slow down the drying process can be useful.
Tools Needed for Application
Here are the tools you will need to apply thin coat render:
- Stainless Steel Trowel: For applying the render and for finishing the surface.
- Container for Mixing: A clean bucket or tub to mix up the render in.
- Electric Mixer: An electric mixer that helps in mixing the render uniformly.
- Hawk: To hold the render before application.
- Reinforcement Mesh: To increase strength and prevent cracking.
- Plastic Float or Sponge: For achieving the desired finish.
- Primer: To prep the surface.
- Tape and Plastic: For places you want to make sure you keep your render off of.
- Plumb: To ensure that the surface is vertical.
Benefits of Thin Coat Rendering
There are tons of advantages to thin coat rendering when compared to normal cement rendering. Due to these benefits, it is an appropriate selection for several construction jobs.
- Improved Strength: As it is flexible in nature, thin coat render can also withstand minor movement in the building which helps to prevent cracking. This not only increases longevity, but also reduces maintenance.
- Improved Resistance to Water: Since thin coat render is water-repellent, they can keep the building dry from rain and moisture damage. Doing this helps to prevent water from entering the building and causing damage.
- Moisture: Unlike cement render, thin coat render allows moisture to escape. This is highly relevant because it prevents dampness and molds on the inside of the walls. This is what silicone renders are very good at.
- Attractive Appearance: The thin coat render offers a smooth, contemporary finish and will help to enhance the aesthetic appearance of a building. It’s available in a variety of colors and textures so that you can craft the desired look.
- Less Weight: This render is lighter than the normal render as it is thin. This decreases the building structure load which is beneficial for old buildings or buildings with weak walls. Australian Rendering Company in Melbourne, has worked with thin coat render on both new and older homes and will be able to advise whether this product is suitable or if others, such as cement or acrylic render, should be used. Phone: 0466943872, Email: contact@australianrenderingcompany.com.au
- Application: Generally, the application of thin coat render is less complicated than cement render. It adheres wonderfully to various surfaces and can be applied in less time, cutting costs.
Difference with Traditional Render (Thick)
Similar to thin coat render, traditional render is also used to protect as well as decorate walls, but there are some salient differences between the two. Here’s a comparison:
| Feature | Thin Coat Render | Traditional Render |
| Thickness | 0.5mm – 5mm | 15mm – 20mm |
| Material | Synthetic resins (acrylics, silicone) | Cement, lime, sand |
| Flexibility | High | Low |
| Breathability | High | Low |
| Water Resistance | High | Moderate |
| Weight | Low | High |
| Application | Easier | More difficult |
| Crack Resistance | High | Low |
| Aesthetic Options | Variety of colors and textures | Limited colors and textures |
| Cost | Varies, can be higher upfront | Generally lower upfront |
Thin coat render is often more flexible, breathable, and available in a wider variety of designs, though traditional render is more robust and cheaper. Which one is the best choice depends on each project, requirements and their budget.
How to Maintain Thin Coat Rendered Walls
Proper maintenance has to be carried out to keep the thin coat rendered walls in good condition. Here are some tips:
- Wall Washing: Once a year, use a soft brush and soap to wash the walls to loosen dirt and grime. This prevents the algae and mold from growing in the first place.
- Examine for Destruction: Regularly inspect the walls for cracks, breaks, or other damage. Resolve issues quickly to prevent exacerbation of such issues.
- Crack Repair: You may be able to use a hybrid filler to treat small cracks specifically designed for render. Fill in your crack and clean the area before adding the filler.
- Re-coat: The render will get faded or tarnished over time. Apply a fresh coat of render to restore its appearance and protect the wall.
- Professional Inspection: Inspect the walls professionally every few years. They can identify brewing issues and propose solutions.
Following these tips, you can maintain your thin coat rendered walls for years.
Common Problems and Solutions
Even with the best thin coat render, issues can still arise. Here are solutions to common problems:
- Cracks: Cracking can occur due to movement of the building, weather, or poor application of the product. You can add some flexible filler for small cracks. For larger cracks, consult a professional to check the structure.
- Algae and Mold: These can be found in areas that tend to be damp. Wash the surface of walls with an algae and mold-killing cleaner. Clean the area well so that they cannot return.
- Fading: In time, the light from the sun will make the render fade out. Re-colour with a factory-fresh coat of render with UV protection.
- Peeling: This occurs when the render does not bond properly. Remove the loose render, prepare the surface, and apply a fresh coat of render.
- Stains: These occur due to dirt, pollution, or water, and the surface of the granite absorbs the pollutant. Use a render cleaner and wash down the walls. The best way to do this is to re-render it if the stains are terrible.
Thin Coat Render — Cost to Consider
Costs for thin coat rendering will vary, however:
- Scale of the Space: The larger the wall area, the more render (and labor) involved.
- Render Material Cost: For example, silicone render is more expensive than some types of render.
- Wall Preparation: The cost of preparation will be more if the wall needs extensive prep work such as patching the cracks or removal of old paint.
- Labor: Labor costs vary depending on your location and the contractor rate.
- Finish: Some finishing or textures cost more.
You’ll need to receive estimates from several rendering trades to arrive at a correct figure. Ensure you get a complete listing of the fees.
Rates for Render Ash Contractors
Here are a few points to keep in mind while quoting:
- Expertise: Choose a contractor with plenty of experience applying thin coat render.
- Reputation: Find out if the contractor is reputable by checking reviews online and seeking referrals.
- Insurance: Verify that the contractor has insurance to safeguard against any accidents or damages.
- Warranty: Inquire about a warranty on work from the contractor.
- Break Down Quote: If they give you a quote, it should break down everything they plan to do – materials, labor, and prep work.
Is thin coat render better than plaster?
Thin coat render is good for external walls, and plastering is for internal walls. They do different jobs and are made from different materials. Thin coat render is used to protect from the weather, while plastering is used to get a clean ground ready for painting or wallpapering.
Is thin coat render breathable?
Yes, thin coat renders are designed to be more breathable.
How long does thin coat render last?
With proper application and maintenance, thin coat render can last between 20 to 30 years. Things like the weather, how well it was applied, and how well it is maintained can affect how long it lasts.
Is it possible to put thin coat render on anything?
Thin coat render can be applied to a lot of surfaces including brick, concrete, and wood. The surface should be strong, clean, and properly prepared. Certain surfaces may require the use of a special primer or prep for appropriate adhesion of render.
Is thin coat render waterproof?
Thin coat render is not waterproof but resistant to water. It defends buildings against rainfall and moisture but allows some moisture to escape. This is a positive thing because it prevents moisture and mold growing behind the walls.
What is the difference between one-coat and thin coat render?
One-coat render is applied directly to the wall in one application and is thicker than thin coat render. Thin coat render is applied in either two or more thin coats. One-coat render provides faster application, but thin coat render gives a smoother finish and better resistance against cracking.