
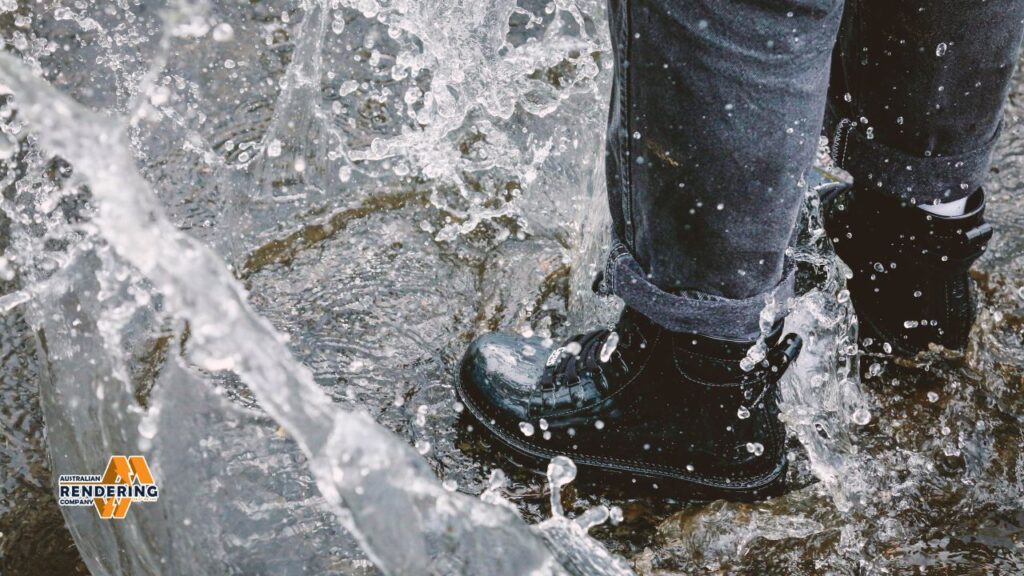
Rendering is a common method of smoothing walls and protecting buildings. But what if it rains? Is rendering waterproof? The solution is not always straightforward. Some renders are more resistant to water than others. This article discusses how to waterproof render and the types of render that are most suitable for wet areas.
What Makes Render Waterproof?
Not all renders are the same. Some are designed to be waterproof and keep water out, while others may need help. In order to understand how to make render waterproof, it’s important to understand what it’s made out of and how it’s applied to the wall.
Types of Render
- Cement Render: This is the most popular sort and is made up of cement, sand and water. It also looks tough, but is cement render waterproof? On its own, it’s permeable to water. It requires added assistance to keep water at bay.
- Acrylic Render: This type contains acrylic. Acrylic rendering also helps resist water better than cement rendering alone. That’s frequently done where rain is abundant.
- Monocouche Render: Is monocouche render water resistant? Monocouche render is produced to be water resistant. It has things added to it that prevent water from getting in. It’s typically available in colors, so there’s no painting required.
- K Rend: Is K Rend waterproof? This sort of render is called K Rend and it is made to be waterproof. It is made of silicone to assist in preventing water. But, in very wet places, it might still need some help.
How Water Gets In
There are a couple of ways in which water can find its way into render:
- Cracks: Small leaks lead water in. The water, over time, can make the cracks larger.
- Bad Mix: If a render isn’t mixed properly, it can be weak and let water in.
- Bad Application: If render is not applied to the wall correctly, water can penetrate behind it.
Making Render Waterproof
There are means to render less susceptible to the passage of water. These are some steps that can help keep walls dry.
Waterproof Additives
Additives are what you mix in the render; this is for added water resistance. These might be liquids or powders.
- Water Repellents: These force the render to repel water. Water beads up on the wall and rolls right off.
- Plasticisers: These enhance the flexibility of the render. This prevents cracks from starting. The fewer the cracks, the more water stays out.
Sealants
Sealants are applied over the render once it is dry. They make a barrier that water cannot pass.
- Acrylic Sealants: They protect water adequately and can flex if the wall moves slightly.
- Silicone Sealants: These sealants are great at keeping water out and last a long time.
Good Application
It is very important how the render is applied to the wall. If it’s done incorrectly, however, water can still find its way inside.
- Clean the Wall: The wall should be clean and dry before you begin.
- Stir the render mix well: Simply stir the render mix as instructed. Use the correct quantity of water.
- Apply Evenly: Smooth the render on to the wall in an even layer. Don’t leave any spots thin.
- Cure Correctly: Allow the render to dry down gently. This makes it stronger.
Types of Waterproof Render
Some renders resist water more than others. Here is a closer look at some of the options.
Acrylic Render
Acrylic render being a plastic also stops water. It’s great for walls that may shift ever so slightly.
Pros:
- Resists water well
- Pliable, to prevent it from breaking
- Comes in many colors
Cons:
- It can be more expensive than cement render
- Has to be applied correctly to work properly
Monocouche Render
Monocouche render is designed to be water resistant. You see it a lot on new houses. Australian Rendering Company delivers expert rendering services throughout Melbourne. Take your pride and joy from drab to fab with our acrylic, cement or cladding suppliers. With over 30 years’ experience, you will get a quality finish that’s long-lasting at your new home, renovation, or repair—all backed by a 7-year warranty. You can reach them by telephone at 0466 943 872 or via email at contact@australianrenderingcompany.com.au. They are available to provide such services as Acrylic Rendering, Cement Rendering, Concrete Render Finishes, Wall Crack Repair and Polystyrene Cladding.
Pros:
- Very good at stopping water
- Comes with color, so no need to paint
- Lasts a long time
Cons:
- Can be costly
- Must be applied by someone with know-how.
Cement Render with Additives
You can make cement render more water resistant by putting things in it.
Pros:
- Good price point compared to other renders
- Strong and lasts a long time
Cons:
- Needs additives to stop water
- Can crack if the wall moves
Water Repellent Render
Water repellent render is designed to force water out. It contains special things that make water bead up and roll off the wall. This helps keep the wall dry.
How it Works
Hydrophobic coating has compounds which reduce the surface tension. This is what causes it to bead the water instead of allowing it to spread. The beads, in turn, roll off the wall.
Benefits
- Keeps Walls Dry: Prevents water from soaking into the wall.
- Prevents Mold: When the wall remains dry, mold does not have an opportunity to form.
- Durable: Prevents The Render From Deteriorating Over Time.
Waterproof Cement Render
When it comes to making your own waterproof cement render, there is more to it than just mixing cement, sand & water. You want to include things that prevent water from coming in.
Additives for Cement Render
- Water Repellents: Blend these into the cement to help push water away.
- Plasticizers: These help make the cement more flexible so it doesn’t crack.
- Sealants: Apply to the dry render to create a watertight membrane.
How to Waterproof Cement Render
- Prepare the Cement: Prepare the cement mix as per instruction.
- Add Additives: Add the water repellent and plasticizer.
- Apply Render: Smoothly apply the render on the wall.
- Seal the Render: Once it’s dry, apply sealant.
Choosing the Right Render
Selecting the right render depends on your location and what the weather is like near you. If you live in a very damp place, you need a render that’s very good at holding back water. Just focus on these things when you’re deciding:
Climate
If it rains a lot where you live, you’re going to want a render that is super waterproof. Monocouche or acrylic render could both be suitable.
Wall Type
Some walls are more movable than others. If the wall is moving around a lot, you want a render that’s flexible. Acrylic render is ideal for walls that are moving.
Cost
Some renders are more expensive than others. Cement render with additives is generally the least expensive. One coat render is typically the most expensive.
Fixing Leaks
Leaks can still occur, even when using waterproof render. If you notice water leaking into your walls, you must address the problem immediately.
Finding the Leak
Inspect the surface for cracks, or points of damage to the render. In many cases water seeps through these holes.
Fixing the Leak
- Clean Up: Clean up the area where the leak is located.
- Repair Cracks: Fill any cracks with a waterproof crack sealer.
- Fix Damaged Render: If the render is damaged, replace it with new render.
- Seal the area: Once the damage is repaired, make sure and seal the area with waterproof sealant.
Conclusion
Is render waterproof? Not in every circumstance, but you can certainly add water resistance. With the right kind of render and by rendering properly, your walls will remain dry and protected from water damage.


