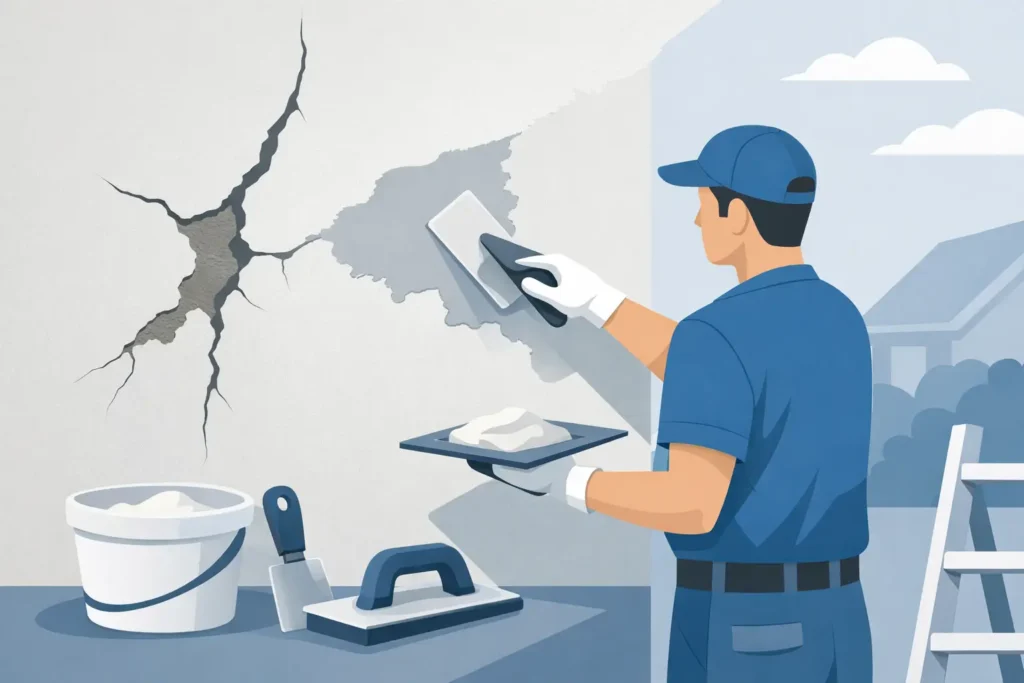
A crack in render rarely stays just a cosmetic issue for long. What starts as a thin line can let in moisture, stain the finish, and slowly turn a sound-looking wall into a much bigger repair. If you are looking up how to repair cracked rendered walls, the first job is not reaching for filler. It is working out why the crack is there in the first place.
Render cracks for different reasons, and the right repair depends on the crack type, the wall beneath it, and how exposed the building is to movement and weather. On homes and commercial buildings across Melbourne, we see everything from minor shrinkage cracking through to failed sections caused by substrate movement, poor preparation, water ingress, or ageing cement render that has lost adhesion.
How to repair cracked rendered walls the right way
The biggest mistake property owners make is treating every crack the same. A quick patch can improve the appearance for a while, but if the substrate is moving or moisture is getting in behind the render, the crack usually comes back. Proper crack repair means matching the method to the fault.
Hairline cracks are the simplest to deal with if they are stable and only affecting the surface coat. Wider cracks, stepped cracks, or cracks that keep reopening usually need a more involved repair. If the rendered finish sounds hollow when tapped, is drummy, or has started to bulge, you may be looking at delaminated render rather than a simple crack.
That distinction matters because patching over loose render is wasted effort. The repair only lasts if the base is solid, clean, and properly prepared.
Start by assessing the crack
Before any repair starts, inspect the wall carefully. Look at the crack width, length, direction, and location. A fine hairline crack around a window corner may point to minor movement or shrinkage. A long vertical crack through a large wall panel may suggest expansion and contraction. Diagonal cracking can indicate structural movement, especially if it carries through bricks or blocks underneath.
Also check for other signs - damp patches, efflorescence, bubbling paint, staining, or render that sounds hollow. These clues help tell you whether the issue is only on the surface or something deeper.
If the crack is wider than a few millimetres, keeps growing, or appears alongside door and window movement, it is worth getting the wall checked before any cosmetic repair. There is no value in applying a neat finish over an active problem.
Clean out the damaged area
For stable, non-structural render cracks, preparation is where the repair is won or lost. The crack needs to be opened up enough to remove loose edges and create a sound surface for the repair material to bond to. That usually means chasing the crack lightly with the right tool, then brushing or blowing out all dust and debris.
Any weak render around the crack should be removed back to firm material. If you leave powdery edges or loose sections in place, the patch can fail even if the product itself is high quality.
The surrounding wall also needs to be clean. Dirt, chalky paint, salt deposits and old flaking coatings interfere with adhesion. On exterior walls, this step often takes more time than owners expect, but it is what gives the repair a chance of lasting through heat, rain and seasonal movement.
Choosing the right repair method
There is no single product that suits every cracked rendered wall. Cement-based patching compounds, acrylic repair systems, flexible crack fillers and full re-rendering all have their place.
For fine, stable hairline cracking, a flexible exterior-grade filler or acrylic repair compound can work well, especially where minor movement is expected. Flexibility matters because rigid patch materials often split again when the wall expands and contracts.
For deeper cracks or localised failed areas, the damaged render may need to be cut out and rebuilt in layers. The patch is then blended to match the existing texture and profile. This is more labour-intensive, but it is the proper fix when the original render has broken down.
If cracking is widespread across the elevation, patching individual lines may not be the best use of money. In those cases, resurfacing or re-rendering the affected wall can deliver a more durable and consistent result. It also avoids the common problem of visible patchwork showing through the finished coating.
Apply repair material in controlled layers
Once the crack is clean and sound, apply the repair material according to the crack depth and render type. Deep voids should not be overfilled in one go. Layering helps the repair cure properly and reduces shrinkage.
For wider cracks, reinforcement may be needed. Mesh embedded into the repair area can help distribute stress and reduce the chance of the crack telegraphing back through. This is especially useful around stress points such as window corners, joints between different substrates, or areas exposed to strong sunlight.
Matching the surrounding finish is also important. A repair that is structurally sound but visually obvious may still leave the wall looking second-rate. Texture, sponge finish, float finish, and coating system all need to be considered before the repair is signed off.
Prime and coat for protection
A crack repair is not complete when the filler dries. The repaired area needs to be sealed and coated with a system compatible with the existing render. Primers improve adhesion and help even out porosity between the old wall and the repaired section.
The finish coat then provides weather protection as well as appearance. On exterior rendered walls in Australian conditions, this matters. UV exposure, driving rain and temperature swings put constant stress on facades. A quality coating system helps protect the repair and improve its service life.
Where colour matching is important, it is often better to coat the full wall section rather than only touching up the patch. Spot painting frequently leaves a visible flashing effect, especially on older rendered surfaces.
When cracked render points to a bigger issue
Some cracks are repair problems. Others are building movement problems that show up in the render first.
If cracking follows brick joints, appears around slab movement, or comes back shortly after previous repairs, the cause may be structural settlement, thermal movement, moisture ingress, or incompatible materials. Render is only as reliable as the substrate beneath it. If that substrate is shifting, the repair strategy has to account for it.
This is where experience matters. The right contractor will not simply patch the face and hope for the best. They will identify whether the wall needs crack stitching, control joints, substrate repairs, isolated re-rendering, or a different finish system with better flexibility.
For older properties, there is also the question of compatibility. New materials need to suit the existing wall construction. Using an overly hard repair mortar on an older or softer substrate can create new stress points rather than solve the original problem.
DIY repair versus professional repair
There are situations where a capable owner can manage a minor surface crack, particularly on a small, accessible area with no sign of moisture or movement. But rendered walls are less forgiving than they look. Poor preparation, the wrong repair product, or a mismatch in texture can leave the wall looking patchy and still not fix the cause.
Professional repair becomes the sensible option when cracks are recurring, wider than hairline, spread across multiple areas, or tied to hollow render and water entry. It also matters when appearance counts, such as front facades, renovated homes, investment properties, or commercial buildings where presentation affects value.
A proper tradesman approaches crack repair as part diagnosis, part restoration. The goal is not just to hide the crack. It is to restore the wall so it performs properly and looks right once the work is finished.
Preventing cracks from returning
Not every crack can be prevented, because buildings move and materials age. Still, good workmanship goes a long way. Correct substrate preparation, appropriate curing times, reinforcement where needed, movement joints in the right places, and high-quality coatings all reduce the chance of premature cracking.
Ongoing maintenance matters too. Keep an eye on small cracks before they widen. Deal with drainage issues, leaking gutters, failed sealants and rising damp early. Water is one of the main reasons rendered walls deteriorate faster than they should.
If you are planning new rendering work or repairing a large section, it is worth thinking beyond the immediate patch. The finish system should suit the building type, the substrate, and the exposure level. A wall that faces full afternoon sun and weather needs a different level of consideration than a sheltered internal surface.
Cracked render is one of those problems that rewards doing it properly the first time. A clean-looking patch is easy. A repair that holds up through Australian weather, building movement and day-to-day wear takes the right assessment, the right materials and disciplined workmanship. If there is any doubt about what is happening behind the crack, stop treating it as a paint problem and start treating it like a wall system that needs the correct repair.