Applying stucco to a garage can do wonders for its curb appeal, weather protection, and resale value. This step-by-step guide will show you how to render a garage, from preparing the surface and laying the base coat, to achieving the perfect finish. Whether you are rendering a brick garage or want to know how to render a garage wall, this guide has the information you need to undergo a successful DIY project.
For all of our Melbourne-based clients, Australian Rendering Company offers all rendering materials and cement services including acrylic, cement, and cladding. With over 30 years’ experience, they supply strong, clean finishes for new homes, renovations, and repairs – all with a 7-year warranty. In case you need professional help, you can call 0466 943 872 or contact@australianrenderingcompany.com.au.
Getting Ready to Render Your Garage
The key to a long-lasting and beautiful render is preparation. This step includes dusting, applying bonding agent, and gathering tools and materials. Try not to rush through this step as lack of adhesion can occur, as well as small lumps/dimples in the finish.
Cleaning the Garage Surface
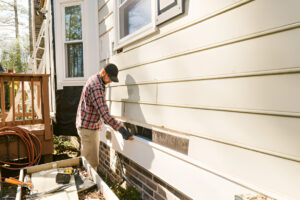
The surface has to be free of loose debris, dirt, grease, and old paint, to mention a few. Scrub the surfaces with a stiff brush and a pressure washer to clear away any grit. Stains that persist can be treated with a mild detergent solution and rinsed well. Let the surface dry entirely before proceeding.
Applying a Bonding Agent
A primer enhances the bond of the render to the substrate. Brush on the bonding agent in a uniform layer as per the manufacturer’s directions. Let it become tacky and then apply the first layer of render. A good bonding agent is essential, especially if you are looking to render a garage with a difficult substrate.
Gathering Tools and Materials
In order to make this project, you will need the following tools and supplies:
- Mixing buckets
- A drill with a mixing paddle
- Trowels (various sizes)
- Hawk
- Spirit level
- Measuring tape
- Dust sheets
- Safety glasses
- Gloves
- Render mix (cement or acrylic)
- Water
- Bonding agent
- Corner beads (if needed)
The Step-by-Step Of Rendering
Rendering is actually a process of multi-coating that is used to achieve the desired thickness of the topping. Not for the faint of heart, but with patience and an eager eye for detail, you can create useful and professional-looking layouts.
Step 1 – Scratch Coat
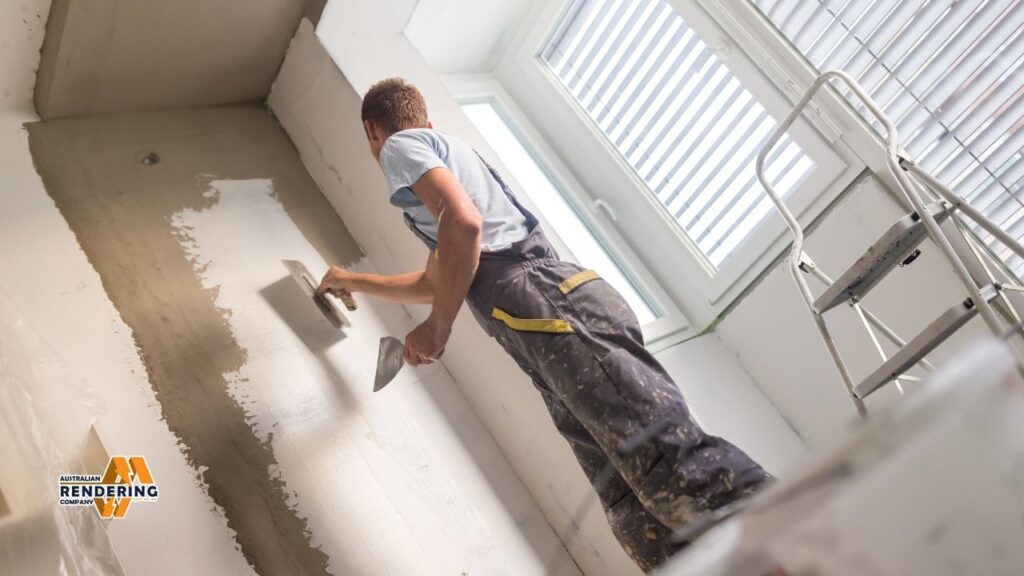
Prepare the render according to the manufacturer’s guidelines. You are looking for a consistency that’s like a thick paste. Spread the first coat (scratch coat) against the wall with a trowel, aiming for 6-8mm thickness. Pack the render into the surface with some force. After installing, use a notched trowel and leave horizontal scratches in the base. This provides a grip for the second layer to stick onto.
Leave the scratch coat for a minimum of 24 hours to cure. Moisten the scratch coat surface before you apply the second layer. That will slow the drying of the second coat.
Step 2 – Floating Coat
Spread the floating coat with a trowel, smoothing out blemishes and evening the surface. It should be an 8-10mm thick coat. Finish over with a float for a smooth and level surface. Let this coat cure for 24-48 hours.
Step 3 – Finish Coat
The finish coat is what gives the render its final appearance. This coating is generally much lighter than the previous coats (3-5mm). Apply the finish coat evenly and with a clean trowel create the desired texture. Different finishes can be obtained with various trowelling methods. Choose from smooth finish, textured finish, and sponge finish.
Creating Various Render Finishes
The overall look of your finished garage is up to you, simply by making the right finishing choice. Here are a few methods:
Smooth Finish
Flatten the surface of the final coat with a wet, clean trowel for a leveled finish. Get the job done in small sections and overlap each stroke so there aren’t any lines or streaks. A sleek look is modern and minimal, complementing the ultra-modern lines of a house.
Textured Finish
A sponge or texture trowel can be used to create texture. The last coat is applied, and the tool of your choice is used to create the pattern you desire. Roughed-up finishes can mask any little imperfections and add textural interest.
Sponge Finish
A sponge finish gives a softer, stucco-type texture. Once the final coat is applied, you can dampen a sponge and lightly pat the surface. This lifts off some of the render and gives a soft, textured look. A sponge finish, which is a bit more mottled, is appropriate for older homes or for a rustic, hand-applied look.
How To Resolve Common Rendering Problems
Even if you are careful in your preparation and application, issues can still occur in the rendering stage. Here are replies to common concerns:
- Cracking: If the render dries too fast, the mix is too wet, or there is movement in the substrate, cracking can take place. Chips and hairline cracks are typically repairable with a flexible sealant. In some cases, deep cracks will have to be cut out and re-rendered.
- Poor Adhesion: Bad adhesion is generally because of poor preparation or a defective bonding agent. Make sure the facade is well cleaned and primed prior to the application of the render. Apply a good quality, recommended bonding agent to the substrate. One should treat the underlying cause of adhesion dysfunction to avoid future consequences.
- Uneven Finish: An irregular surface may be the effect of uneven application or improper troweling. Practice your troweling skills over a small, inconspicuous area first, before engaging the entire garage. Use a spirit level to keep an eye on the evenness of the render while you work.
DIY Garage Plastering: Can You Do It on Your Own?
Whether a DIY rendering project makes sense will vary depending upon the extent of your past experience, how professional you need the finish to be, and, of course, the size of the garage. Small garages with simple designs are great for beginners. Professionals, however, should probably handle bigger, more complicated projects. If you are rendering for the first time, work on a small test section to practice and build your confidence.
Can We Render Over Existing Walls?
There’s the option to render over what you already have, but it requires the correct prep. Surfaces shall be sound, clean, and free of loose materials. A bonding agent will help if there are some options. If the surface is painted, you may want to score the paint or, if possible, strip some back a little in order to provide some key for the render. Consider the old surface’s suitability while rendering.
What type of render is best for a garage?
The “best” kind of render depends on how the garage is constructed and the finish you have in mind. Cement-based renders are hardy and less expensive, while acrylics are more flexible and less likely to crack. Acrylic renders are often preferred for their weatherproof qualities. Choose a render that fits what you would like to do and the amount you’re willing to spend.
What is the time taken to render out a garage?
The time taken to render a garage will depend on its size and complexity, plus your learning curve. A small single-car garage may take 2-3 days to render, depending upon size, and a larger one, a week or more. Factor in drying time between coats.
Is it possible to render a garage in winter?
When cold, it is more difficult to render as drying is slowed and the risk of cracking is greater. If rendering in cold conditions, use a suitable winter-grade render mix and avoid frost on the rendered finish. You can try using heaters to keep the temperature above freezing while it is curing.