
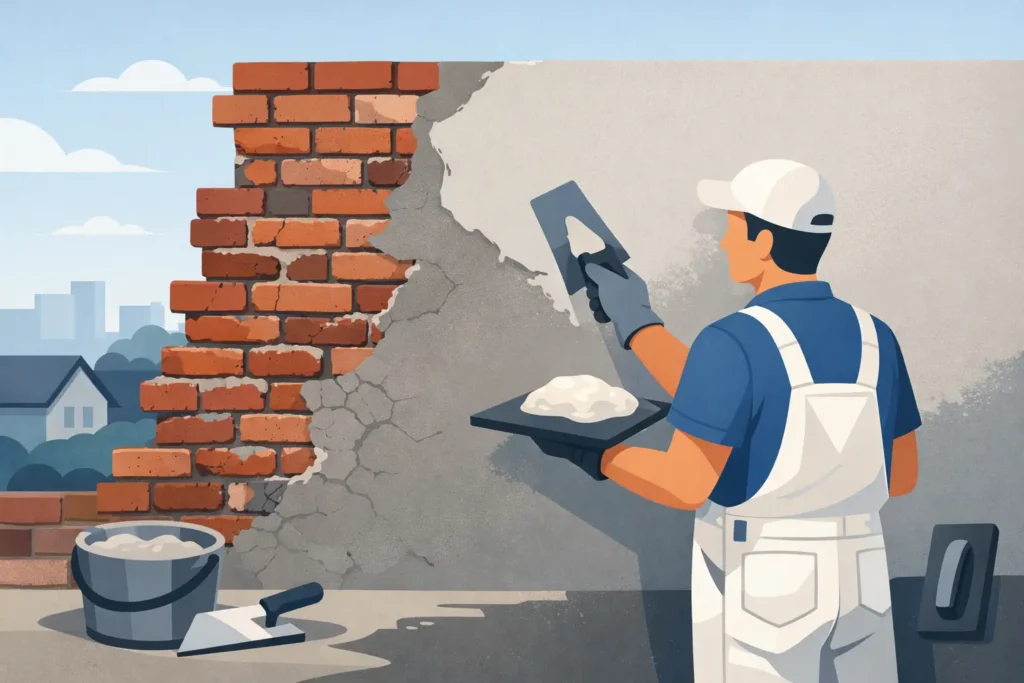
Old brickwork can look tired long before it has reached the end of its serviceable life. Stained faces, patchy repairs, loose mortar and cracking can make an otherwise sound home look neglected. This guide to rendering old brickwork explains what needs to happen before render goes on, because the quality of the finished wall depends on the condition of the brickwork underneath.
Rendering is not a cover-up for damp, movement or failing masonry. Done properly, it can protect and modernise an older façade, improve visual consistency and provide a durable finish suited to Melbourne conditions. Done over an unstable or poorly prepared wall, it may crack, debond or trap moisture where it does not belong.
Start by assessing the old brickwork
Every rendering project should begin with a close inspection of the masonry. Older homes often have a mix of original brickwork, previous repairs, painted sections, altered openings and different mortar types. These variations affect how the wall absorbs moisture and how well a render system will bond.
Look for loose, spalling or powdery bricks, deteriorated mortar joints, cracks around windows and doors, rust stains, bulging walls and white salt deposits. Salt staining, also called efflorescence, can point to moisture moving through the wall. Rendering before the moisture source is identified can leave the same problem hidden behind a new finish.
Hairline cracking may be limited to surface movement and suitable for repair before rendering. Wider, stepped or recurring cracks need more careful investigation. They can indicate footing movement, lintel failure, corroded wall ties or structural movement. A render coating cannot correct these underlying issues.
It also pays to inspect drainage, gutters, downpipes and ground levels. Water regularly hitting the wall, overflowing gutters or garden beds built too high against brickwork can create damp conditions that compromise both the masonry and the render. The wall needs to be dry, stable and properly managed before work begins.
Guide to rendering old brickwork: preparation comes first
Preparation is the part of the job that is rarely admired once the project is complete, but it determines whether the finish lasts. The brickwork must be sound, clean and free from anything that can interfere with adhesion.
Loose mortar should be raked out and repointed with a compatible mortar. Damaged bricks need replacing or repairing, while failed patches from earlier work should be removed rather than rendered over. Any cracks should be repaired using the right method for their cause, not simply filled at the surface.
Painted brickwork needs particular attention. Render will not reliably bond to flaky paint, chalky coatings or glossy surfaces without suitable preparation. Depending on the coating and wall condition, this may involve removing unstable paint, mechanically keying the surface or applying an approved bonding agent. The right approach depends on the existing substrate, so it should be assessed on site.
The wall must also be cleaned of dust, dirt, moss, oils and loose material. High-pressure cleaning can be useful in some situations, but it is not always appropriate for fragile old mortar or soft bricks. Aggressive cleaning can cause more damage if the masonry is already weathered.
Where different wall materials meet, such as brickwork beside concrete, blockwork or repaired sections, reinforcement mesh may be required. Mesh helps manage differential movement and reduces the risk of cracks telegraphing through the new finish. It is especially valuable around openings, repaired areas and known stress points.
Choose a render system that suits the building
There is no single render product that suits every old brick wall. The right system depends on the brick condition, exposure to weather, existing coatings, desired appearance and the building's capacity to manage moisture.
Traditional cement render can provide a strong, solid base and suits many sound masonry surfaces. It is often used where a durable, textured or painted finish is required. However, it needs correct mix design, application thickness, curing and joint treatment. A cement-rich render that is too hard for soft, older masonry can create problems by restricting movement or concentrating stress in the brickwork.
Acrylic render offers flexibility and strong adhesion when used as part of a compatible system. It is commonly selected for its crack-resistant properties and range of finish options. On older brick homes with minor movement, an acrylic-modified system can be a practical choice, provided the wall is dry, stable and properly prepared.
Breathability matters on some older homes, particularly where the original brickwork and mortar are softer or more porous. If moisture within the wall needs to escape, an overly dense coating can make the issue worse. This is why identifying damp causes, salts and previous coatings before selecting a render is not optional.
For heritage-listed properties or buildings in heritage overlays, the render choice and finish may be subject to planning requirements. A smooth contemporary façade may not suit the building's character or receive approval. In these cases, restoration work should respect the original construction while still addressing weather protection and durability.
Apply the render in the right sequence
Professional rendering is a system, not a single coat applied in one visit. Once repairs and preparation are complete, the wall may receive a bonding coat or primer suited to the substrate. This helps create a consistent surface for the render to adhere to.
A base coat is then applied at the required thickness and worked flat. On uneven old brickwork, this stage may involve more than simply covering brick lines. The renderer needs to correct variation without applying excessive thickness in isolated areas, which can increase shrinkage and cracking risk.
Reinforcement mesh is embedded where required, then the base coat is allowed to cure correctly. Curing time varies with the product, wall condition and weather. Rushing the next coat is a common cause of poor performance, particularly during cold, wet or highly variable conditions.
The final coat determines the appearance of the façade. Depending on the chosen system, this may be a smooth finish, sponge finish, float finish, bagged-style texture or a decorative acrylic coating. A sample panel is worthwhile where colour, texture or sheen matters. Rendered walls can look very different in direct sun, shade and wet weather.
Plan for joints, edges and water management
Good rendering details are often what separate a durable job from one that looks acceptable only at handover. Expansion joints need to be respected. Rendering straight across existing movement joints can lead to predictable cracking as the building moves.
Edges around windows, doors, meter boxes, wall penetrations and parapets need clean finishing and suitable sealing. These are common points for water entry. A sharp, straight edge also gives the completed wall a professional appearance, particularly on front façades where minor defects are easy to notice.
The bottom of the render requires careful planning too. Render should not bridge damp-proof courses or run into soil, paving or garden beds where it can wick moisture. Clearance from finished ground levels helps protect the system and allows moisture management measures to work as intended.
Eaves, flashings and cappings deserve the same attention. If rainwater is constantly running down a rendered wall, the finish will be exposed to unnecessary staining and wear. Rendering can improve weather protection, but it cannot compensate for poor roof drainage.
Avoid the shortcuts that cause failed render
The most common failures are not usually caused by the final texture coat. They begin with skipped repairs, poor surface cleaning, incorrect product selection or insufficient curing. Applying render over loose paint, salt-contaminated brickwork or active cracks may save time initially, but it creates a costly repair later.
Another mistake is treating all cracks as cosmetic. Some cracks can be repaired successfully as part of a rendering project, while others require a builder, engineer or specialist assessment first. The correct response depends on whether the crack is stable, how wide it is, where it appears and whether it has continued to move.
Weather also affects the work. Very hot conditions can cause rapid drying, while cold or wet conditions can delay curing and affect adhesion. Experienced renderers plan application around site conditions, protect fresh work where needed and use materials in line with manufacturer requirements.
Maintaining a rendered old brick façade
A rendered wall still needs occasional care. Keep gutters and downpipes clear, prevent garden beds from building up against the wall, and address damaged sealants around openings before water gets behind the finish. Wash off dirt and biological growth with suitable cleaning methods rather than harsh abrasive treatment.
If a new crack appears, do not assume it is only a paint issue. Prompt inspection can identify whether it is limited to the coating or reflects movement in the wall beneath. Early repairs are generally simpler and help preserve the appearance and weather resistance of the façade.
For old brick homes, the best result comes from treating the wall as a building element, not just a surface waiting for a new colour. Careful assessment, compatible materials and disciplined preparation give the render every chance to protect the property and look right for years to come.