
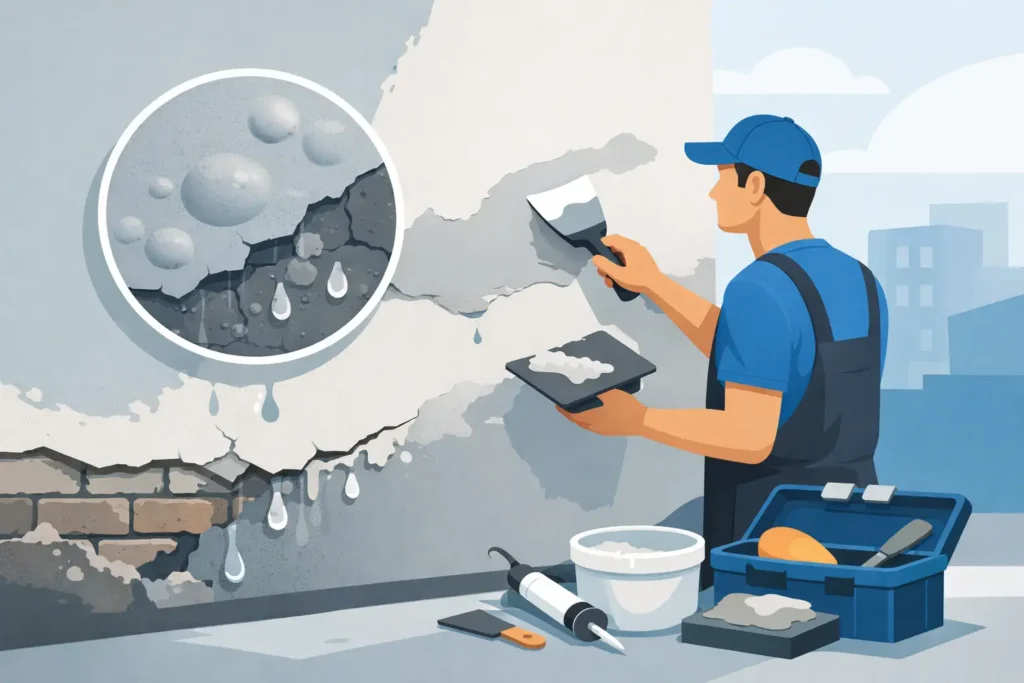
A bubble in rendered wall is not simply a cosmetic defect to patch over. It is usually a warning that the render has lost its bond with the surface beneath it, often because moisture, movement or poor preparation has compromised the finish. Knowing how to fix bubbling render starts with identifying that underlying cause. Repairing only the visible blister may improve the look temporarily, but it will not deliver a durable result.
Bubbling can appear on cement render, acrylic render, texture coatings and painted rendered walls. It may develop as one raised section, several hollow patches, or widespread blistering after wet weather. The right repair depends on where the wall is located, the substrate, the render system already applied and whether water is still entering the structure.
Why render starts bubbling
Most bubbling render comes back to one of three issues: trapped moisture, poor adhesion or movement in the wall. These can occur on older homes, recent renovations and new builds where the application sequence has not been properly managed.
Moisture is the first issue to investigate. Water can enter through cracks, failed sealant around windows, damaged cappings, leaking gutters, overflowing downpipes, roof flashings or unprotected wall tops. It can also rise from the ground where drainage or damp-proofing is inadequate. Once moisture sits behind a render layer, it can weaken the bond and create pressure as conditions change. In Melbourne, repeated wet and dry cycles can make the problem more noticeable over time.
Poor surface preparation is another common cause. Render needs a clean, sound and suitably prepared substrate. Dust, loose paint, salts, oils, old coating residue or an unsuitable primer can prevent the material from properly gripping the wall. Applying render over a weak existing finish may also transfer the failure from the old layer into the new work.
The third cause is movement. Brickwork, concrete, fibre cement sheet and cladding systems all move differently with temperature, moisture and settlement. Small cracks and movement joints need to be treated correctly. If they are bridged with a rigid repair where flexibility is required, the render can crack, detach or bubble along the affected area.
How to fix bubbling render properly
A lasting repair involves more than filling the raised section. The damaged render must be removed back to a firm edge, the substrate assessed and any water entry or movement issue rectified before a compatible render system is reapplied.
Check whether the render has detached
Start by lightly tapping around the bubble with the handle of a tool. Sound render generally feels solid and gives a sharp, firm response. Detached render often sounds hollow. Mark the full hollow area, not just the part that is visibly raised, because the loss of adhesion can extend well beyond the bubble.
Do not assume every raised area is a render failure. Sometimes the coating or paint film is blistering while the render underneath remains sound. This distinction matters. A paint blister may need coating removal, surface drying and repainting, while hollow or loose render will need to be cut out and rebuilt.
If the wall feels soft, is visibly damp, has white powdery deposits, or continues to deteriorate after rain, treat it as a moisture investigation first. White salts, known as efflorescence, are a strong sign that water is moving through masonry or concrete. Rendering over this condition without stopping the water source is a short-term fix at best.
Remove loose material to a sound edge
Once the cause has been addressed, loose and drummy render needs to be carefully removed. This should continue until the surrounding material is firmly bonded. Leaving weak edges behind can cause the new patch to fail prematurely.
The exposed wall must then be cleaned of dust, friable material and contamination. Depending on the substrate, this may involve brushing, washing, mechanical preparation or applying an appropriate bonding agent. The correct preparation differs between brick, blockwork, concrete, Hebel and previously painted surfaces. This is one reason a one-size-fits-all repair product is rarely the best answer.
For small, isolated areas where the wall is dry and stable, a compatible patch repair may be suitable. The repair material needs to match the existing render as closely as practical in strength, flexibility and texture. A hard cement-rich patch over a more flexible acrylic finish can create another weak point, particularly on walls exposed to heat and weather.
Repair cracks and water entry before re-rendering
Cracks should never be treated as an afterthought. Hairline cracking may be limited to the finish coat, but wider cracks, stepped brick cracks or cracks that return after repair can indicate wall movement, failed joints or water-related damage.
Sealant around windows, doors, penetrations and expansion joints should also be checked. These areas are regular entry points for water, particularly where the existing sealant has shrunk, split or pulled away from the frame. Gutters and downpipes should direct water away from the building, while garden beds and paving should not bridge damp-proof courses or hold moisture against the wall.
Where water is entering from above, the repair may involve roof, flashing or plumbing work before any rendering begins. Where the issue is rising damp or poor drainage, the correct solution may sit below ground level. A quality rendering repair cannot compensate for an unresolved building moisture problem.
Reapply the correct render system
After the substrate is sound, dry and properly prepared, the repair can be rebuilt in layers. The process may include a bonding coat, base coat, reinforcement mesh where needed, a levelling coat and the selected texture or finish coat. Each layer needs appropriate curing time. Rushing the next stage can trap moisture or lead to shrinkage cracking.
Matching an existing finish takes more than choosing a similar colour. The aggregate, trowel pattern, grain size and sheen all affect the final appearance. On older façades, a local repair can sometimes remain visible even when technically sound. In those cases, refinishing the full wall or a logical wall section may produce a more consistent result.
Acrylic render systems are often a practical choice for many exterior repairs because they offer flexibility and weather resistance. Cement render can be suitable for compatible masonry substrates and particular finish requirements. The best material depends on the wall construction and existing coating system, not simply what is quickest to apply.
When a bubbling render repair is not a DIY job
A homeowner can often spot bubbling early and reduce further damage by keeping water away from the wall. However, removal and replacement work becomes more involved when the affected area is large, the wall is elevated, the render is cracking, or moisture has persisted behind the finish.
Professional assessment is worthwhile if any of the following signs are present:
- hollow render spreads across a large portion of the wall
- bubbling appears below windows, near rooflines or beside plumbing points
- cracking runs through brickwork or concrete as well as the render
- the wall has recurring damp patches, mould or salt deposits
- render is falling away and could create a safety risk.
These conditions may point to a broader façade issue rather than an isolated cosmetic failure. A specialist can assess the substrate, identify compatible materials and complete the repair in a sequence that supports long-term adhesion. This is particularly relevant for commercial properties, retaining walls and rendered cladding systems, where the consequences of water entry can be more significant.
Avoid the shortcuts that cause repeat bubbling
Painting straight over a bubble, filling it without removing loose material, or applying fresh render onto a damp surface will usually delay rather than solve the problem. So will using a generic patch compound without considering the existing wall system.
Another common mistake is trying to force a rapid dry-out with heat and then coating the wall immediately. The surface may feel dry while moisture remains deeper in the substrate. Adequate drying time is essential, especially after leaks or prolonged wet weather.
For recently rendered walls, bubbling can also result from applying coatings too soon or using incompatible paint products. Render and coating systems need to be selected and applied as a complete system, with curing times respected. The final finish is only as reliable as the preparation underneath it.
Protect the repair for the long term
Once bubbling render has been repaired, regular maintenance gives the wall its best chance of staying sound. Keep gutters clear, inspect sealant annually, address cracks early and make sure garden irrigation does not constantly wet the façade. Watch for staining beneath windows and along parapets, as these areas often reveal water issues before render starts detaching.
A properly repaired rendered wall should feel solid, shed weather and maintain a clean, consistent finish. If bubbles, hollow patches or damp marks are appearing, act before small areas become a larger restoration project. The most dependable fix is the one that deals with the wall behind the render, not just the blemish on its surface.