
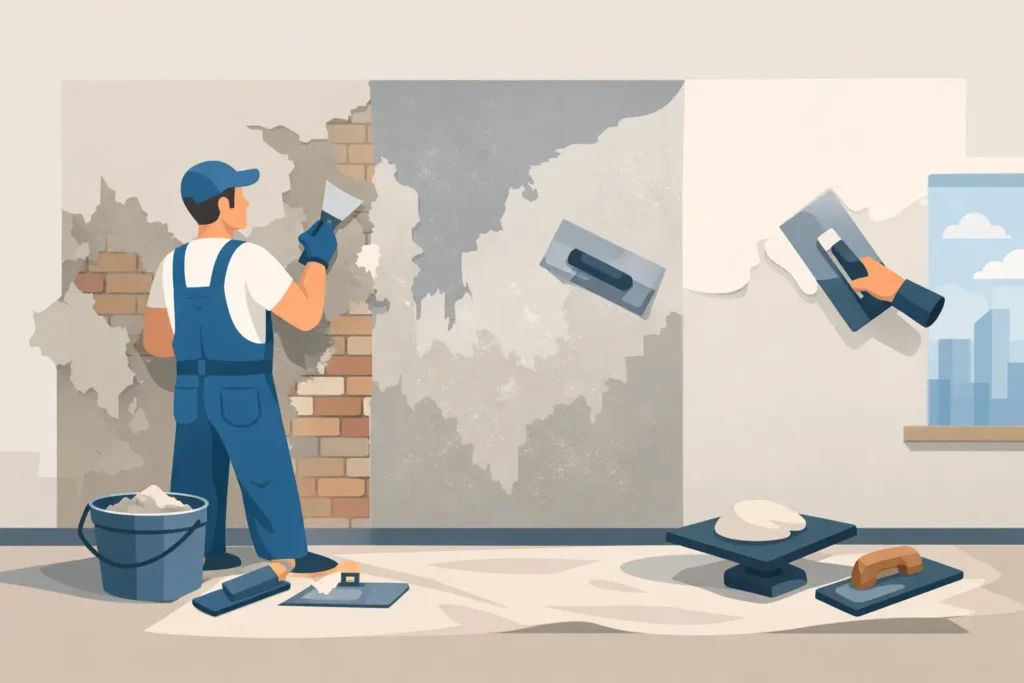
A render finish is only as sound as the wall beneath it. Knowing how to prepare walls for rendering means looking beyond surface appearance and dealing with the issues that cause failure later: dust, loose paint, movement cracks, moisture, poor adhesion and unsuitable substrates. Getting this stage right protects the finish, improves the final appearance and avoids costly repairs.
For homeowners, renovators and builders, preparation is not the place to cut corners. Whether the wall is brick, blockwork, concrete, Hebel or an older rendered surface, the correct approach depends on its condition, exposure and the render system being applied.
How to Prepare Walls for Rendering: Start With an Inspection
Before cleaning or applying any bonding agent, inspect the entire wall closely. A quick look from ground level is not enough. Check around windows, doors, downpipes, parapets, garden beds and wall junctions, where water damage and movement are most likely to show up.
Look for cracks, hollow or drummy areas, crumbling mortar, flaking paint, efflorescence, mould and signs of rising or penetrating damp. Efflorescence appears as a white, powdery deposit and usually indicates salts moving through the masonry with moisture. Rendering over it without fixing the moisture source can lead to staining, bubbling or render separation.
Hairline cracks may be cosmetic, but wider, stepped or recurring cracks can point to movement in the wall or footing. These need to be assessed and repaired using the right crack repair method before rendering begins. Applying a new finish over active movement rarely solves the problem. It simply hides it until the crack returns.
A wall should also be checked for straightness. Render can improve minor surface inconsistencies, but it is not designed to correct severely bowed, loose or unstable masonry. Major defects need proper building repairs first.
Remove Anything That Can Stop Adhesion
Render needs a clean, firm and suitably textured surface to bond properly. Any contaminant or weak material between the wall and the render becomes a potential point of failure.
Remove loose paint, flaky old render, friable mortar, dust, dirt, algae, mould, oil and surface salts. On painted masonry, the key question is whether the coating is sound and compatible with the proposed render system. A well-bonded coating may sometimes be prepared and primed, while deteriorated paint generally needs to be removed back to a stable substrate.
Pressure cleaning can be effective for brickwork, concrete and previously rendered walls, provided it does not damage weak mortar joints or force water into vulnerable areas. Heavy staining, mould or algae may require a suitable cleaning treatment first. Once cleaned, the wall must be allowed to dry properly. Rendering onto a visibly wet wall can trap moisture and compromise adhesion.
For smooth concrete, the issue is often not dirt but lack of texture. Dense concrete can be too smooth for direct render application, particularly if it has residue from formwork oils or curing compounds. It may require mechanical abrasion, specialised cleaning and a compatible bonding coat to create a reliable key.
Repair Cracks, Holes and Damaged Masonry First
Rendering is a finish system, not a substitute for repairs. Any unstable section of wall should be addressed before the first coat is applied.
Remove loose mortar and deteriorated render around damaged areas until a solid edge is reached. Repoint open brick joints, repair holes and replace badly damaged bricks or blocks where needed. Small penetrations from old fittings, pipes or fixings should be filled with an appropriate repair mortar, not simply covered with render.
Cracks require a repair method suited to their cause and size. Fine, non-moving surface cracks may be repaired as part of the preparation process. Larger cracks can need routing out, flexible repair materials, mesh reinforcement or local patching. Where cracking is linked to structural movement, water ingress or failed footing conditions, those causes must be investigated before cosmetic work proceeds.
Reinforcement mesh is particularly useful around repaired sections, dissimilar materials and stress points such as window and door openings. These areas naturally concentrate movement. Mesh helps distribute that stress through the render system, but it cannot compensate for an unstable wall.
Check Moisture Before You Cover the Wall
Moisture is one of the most common reasons render fails. It can enter through cracked roof tiles, failed flashings, leaking gutters, overflowing downpipes, unsealed window frames, damaged cappings or poor drainage at the base of the wall.
If a wall shows damp patches, staining, mould, blistering paint or persistent efflorescence, identify the source before rendering. A fresh finish may look good briefly, but trapped moisture can cause blistering, salt damage and delamination over time.
Ground levels also matter. Soil, mulch or paving should not bridge damp-proof courses or sit too high against masonry. In Melbourne, where walls can experience driving rain, cold wet conditions and strong summer heat, moisture management is essential for long-term performance.
New brickwork, blockwork and concrete need adequate curing time too. The exact timeframe depends on the substrate, weather and specified system. Applying render before masonry or concrete has dried and stabilised sufficiently can increase the risk of shrinkage cracks and bond issues.
Match Preparation to the Wall Material
There is no single preparation method for every wall. The substrate determines how the surface should be cleaned, repaired and primed.
Brick and Blockwork
Brick and block walls need sound mortar joints, clean faces and enough surface profile for the base coat to grip. Highly absorbent masonry may need dampening before cement-based render is applied so it does not draw water out of the mix too quickly. If the surface is too dry, rapid moisture loss can weaken the bond and affect curing.
Concrete Walls
Concrete must be clean, free from release agents and properly keyed. Smooth precast panels and formed concrete often need a bonding coat or mechanical preparation. Cracks, blowholes and surface defects should be repaired before the render system is installed.
Hebel and Lightweight Panels
Hebel, AAC and other lightweight wall systems require compatible base coats, reinforcing mesh and detailing around joints and openings. These materials move differently from traditional masonry, so the system needs to accommodate that movement. Using unsuitable render products can lead to cracking or poor adhesion.
Previously Rendered Walls
Old render should be tapped and checked for hollow areas. Any loose or drummy sections must be removed and patched back to a stable surface. Fine cracking may be repairable, but widespread failure often means the old finish needs more extensive removal rather than another layer applied over the top.
Apply the Right Primer or Bonding Coat
Primers and bonding agents are chosen for the substrate and render system, not as a one-size-fits-all extra. Their role may be to control suction, improve adhesion, seal a porous surface or create a textured key on smooth masonry.
For example, a highly absorbent brick wall and a dense concrete wall have opposite preparation needs. One may need suction control, while the other needs a stronger mechanical bond. Acrylic and cement render systems also have different requirements, so product compatibility matters.
This is where professional judgement makes a difference. A coating that seems acceptable on the day can fail months later if the wall was not correctly assessed, cleaned or primed.
Protect Edges, Openings and Adjacent Surfaces
Clean preparation includes setting up the job properly. Window frames, doors, paving, landscaping, roof lines and adjoining cladding should be masked or protected before rendering starts. Downpipes, lights, vents and other fixtures may need to be removed or carefully detailed around.
External corners, returns and junctions should be checked for straightness and protection. Render beads can create clean, durable edges where appropriate, while movement joints need to remain functional and should never be bridged with rigid render.
Good preparation also considers the working conditions. Avoid rendering in heavy rain, on saturated walls, during extreme heat or when strong winds are likely to dry the surface too quickly. The wall, materials and weather all affect curing.
Know When to Bring in a Rendering Specialist
Basic cleaning and minor preparation can appear straightforward, but diagnosing substrate issues takes experience. If there are persistent cracks, moisture signs, failing coatings, mixed wall materials or large areas of old render, professional assessment is the safer option.
Australian Rendering Company approaches preparation as part of the finish, not an afterthought. The right repairs, compatible materials and careful surface work give a render system the foundation it needs to stay clean, secure and visually sharp for years.
A properly prepared wall does more than help render stick. It gives your property a finish that can handle weather exposure, daily wear and the test of time without hiding problems that should have been fixed first.