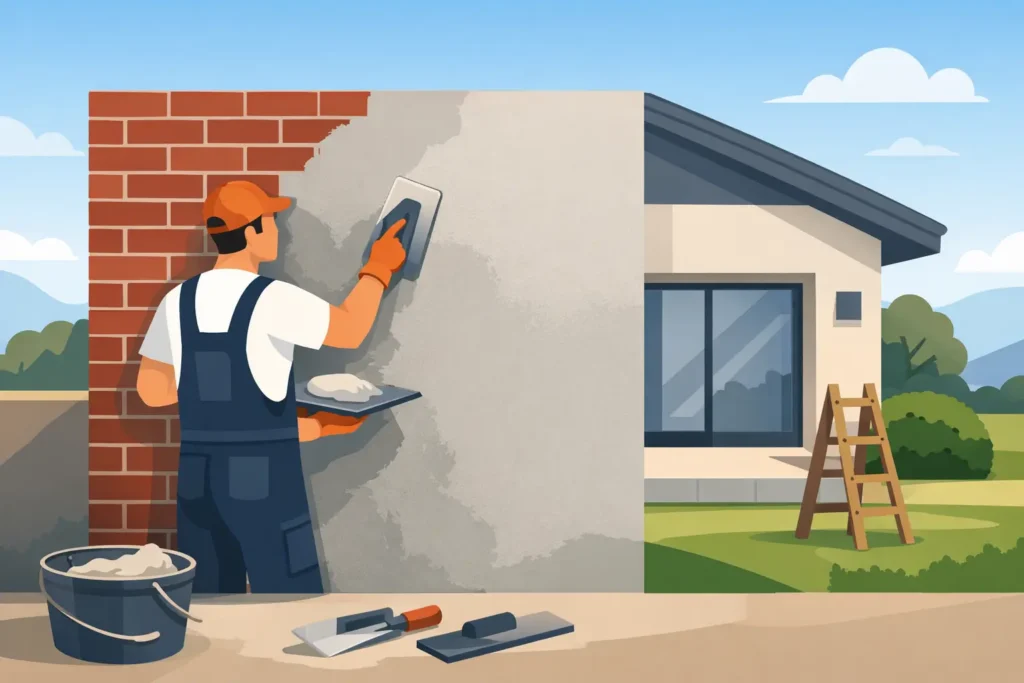
A brick wall can look solid from the street and still be a poor candidate for render if the surface is dusty, painted, damp or already moving. That is the first thing to understand about how to render exterior brick walls properly. The finish is only as good as the wall underneath it, and on external brickwork, preparation is where most long-term problems are either prevented or locked in.
For homeowners and builders, rendering brick is often about two outcomes at once - improving appearance and adding a harder-wearing outer skin. Done well, it lifts a dated façade, improves consistency across old and new additions, and helps the wall cope better with weather exposure. Done poorly, it can trap moisture, crack early or debond in sheets. That is why the process matters more than the product brochure.
How to render exterior brick walls: start with the substrate
Not every brick wall should be rendered immediately. Before any base coat is mixed, the wall needs to be assessed for stability, moisture issues and existing coatings. If bricks are loose, mortar joints are failing, or there is visible rising damp, render should wait until those defects are rectified. Render is a finish system, not a fix for structural movement or chronic water entry.
Painted brick also needs careful handling. Render does not bond reliably to flaking paint or contaminated surfaces. In many cases, painted walls need mechanical removal, aggressive cleaning or a bonding system suited to the condition of the substrate. The same applies to walls with efflorescence, chalking or old patch repairs. If the surface is inconsistent, the finish usually will be too.
A sound brick wall should be clean, stable and reasonably even. That usually means pressure cleaning, removing loose material, raking out failed joints where required, and repairing cracks before rendering begins. On older Melbourne properties, especially where additions have been made over time, it is common to find different brick densities and patchwork repairs across one elevation. That can affect suction and drying times, so the wall may need a primer or bond coat to create a more uniform base.
Choosing the right render system
There is no single answer to the best render for brick. It depends on the age of the building, the condition of the masonry, the finish you want and the level of exposure the wall gets.
Traditional cement render remains a common choice for exterior
brick walls because it is durable, cost-effective and well suited to many residential and commercial applications. It can create a strong, straight finish, but it needs to be mixed and applied correctly. If it is too hard for the substrate or cured too quickly in hot, dry conditions, cracking becomes more likely.
Acrylic render offers more flexibility and can be a better option where minor movement is expected or where a finer decorative finish is required. It generally adheres well, performs well in variable weather and can be applied over suitable prepared masonry with the correct primers and base coats. For some projects, a combined system works best - a cement-based levelling coat followed by an acrylic finish coat.
The key is compatibility. Hard, dense systems over weak or moisture-affected brickwork can create problems. Softer or more flexible systems can be a smarter choice, but only when backed by proper preparation. Product selection should match the wall, not just the desired look.
Surface preparation is where the job is won
If you want to know how to render exterior brick walls so the finish lasts, focus on preparation. Bricks are porous, but not always evenly porous. Mortar joints absorb moisture differently from brick faces, and repairs can behave differently again. Without proper surface prep, the render can dry at uneven rates and lose bond strength.
A professional process usually starts with cleaning and defect repair, followed by a suitable bonding agent or dash coat where needed. Control joints also need attention. If the wall has existing movement joints, they must be carried through the render system. Covering them over might make the wall look neater for a short time, but the cracks generally reappear.
Beads and trims are then installed to set lines, protect edges and help achieve a consistent thickness. This is one of those details that separates a neat trade finish from a wall that looks acceptable only from a distance. Around openings, sills and corners, accuracy matters.
Applying the render in the right build-up
External brick rendering is rarely a one-pass job if a high-quality result is the goal. Most walls need a build-up that suits the condition of the substrate and the final texture being specified.
A base coat is often used first to level the wall and create a solid foundation. On uneven brickwork, this coat may need to be ruled off carefully to correct bows and low spots. Trying to hide poor alignment with a thin finish coat usually leads to shadow lines and a visibly uneven façade.
Once the base coat has cured appropriately, a second coat or finish coat can be applied. This might be a float finish, sponge finish, acrylic texture or another specified surface depending on the project. Timing matters here. If coats are rushed, trapped moisture and weak curing can affect durability. If they are left too long without the correct preparation between coats, adhesion can suffer.
Weather also plays a major part. Hot sun,
strong wind and very dry conditions can pull moisture from the render too quickly. Cold, damp conditions can slow curing and increase the chance of issues with finish consistency. In Australian conditions, especially on exposed elevations, render needs to be managed according to the day, not just the schedule.
Common mistakes when rendering brick externally
Most failures come back to a handful of avoidable issues. One is rendering over unstable or damp brickwork and hoping the finish will hide the problem. It will not. Another is skipping primers or bond coats on difficult surfaces. Brick might seem easy to stick to, but contamination, low porosity and old coatings change that quickly.
Using the wrong mix is another problem. A render that is too rich in cement can become brittle. A system that is too thin for the wall can telegraph every imperfection underneath. Poor joint treatment around windows, doors and penetrations is also common, and these are often the first places where cracking or water entry shows up.
Then there is curing. Good rendering is not just application. Protecting the finish as it sets is part of the trade. If the wall is left exposed to harsh sun or drying winds without proper care, the surface can craze, powder or lose strength before the job has properly stabilised.
What homeowners should expect from a proper render job
A well-rendered brick wall should look straight, consistent and deliberate. The texture should be even, corners should be clean, and junctions around windows, meter boxes and flashings should look finished rather than patched around. More importantly, the system should suit the building.
That means asking practical questions before work starts. Is the wall sound enough to render? Which finish is best for the level of exposure? Will movement joints be retained? How will cracks be treated? What thickness is required to straighten the wall properly? Clear answers to those questions usually indicate a contractor who understands the trade rather than just the surface appearance.
For renovations, there is also a design consideration. Render can dramatically change the look of a property, but the finish should still suit the architecture. A sleek acrylic texture on a new extension may work well, while an older home might benefit from a more restrained finish that does not look out of place against the rest of the streetscape.
When professional rendering is the better option
Some trade jobs reward a capable DIY approach. Exterior brick rendering is not usually one of them. The technical side is only part of it. The real challenge is reading the wall correctly, choosing a compatible system and applying it consistently over a large external surface where defects are easy to spot once the sun hits the façade.
For homeowners, investors and builders, the cost of redoing failed render is usually far higher than doing it properly the first time. That is especially true where poor preparation leads to widespread delamination or cracking. Experienced contractors bring more than labour. They bring judgement about substrate condition, finish suitability, curing conditions and compliance with accepted building practice.
At Australian Rendering Company, that judgement is central to the work. A clean site, the right materials and a finish built for Australian conditions are not add-ons. They are the basics of a render job that lasts.
If you are planning to render exterior brick, treat the wall as a system rather than a surface. The best-looking result usually comes from the least rushed process - sound preparation, compatible materials and workmanship that respects what the building needs.