
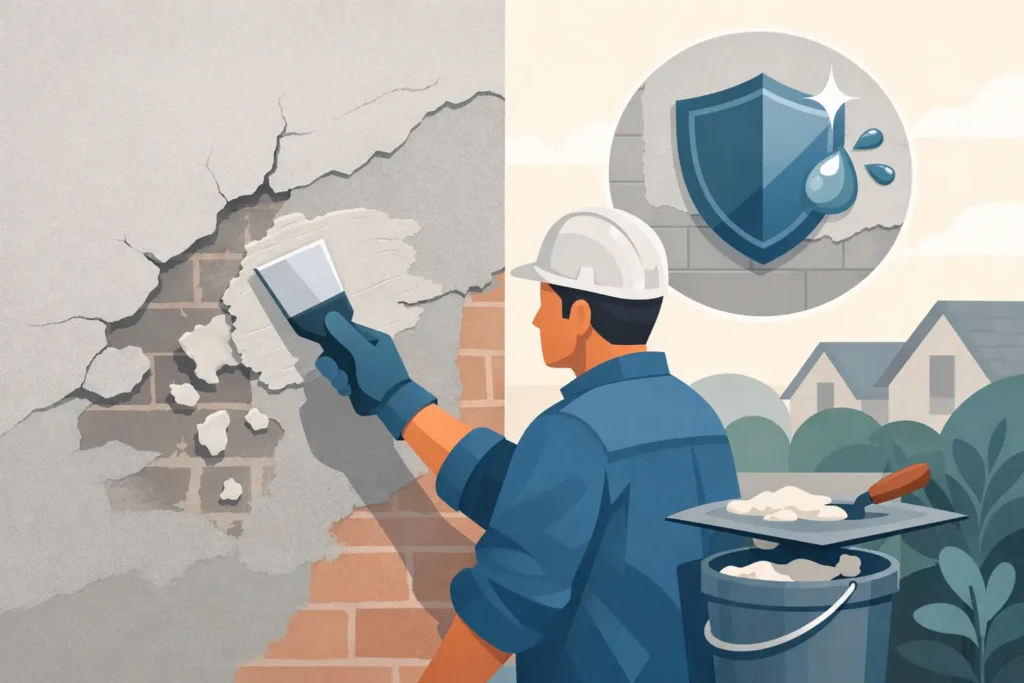
A hollow sound when you tap a rendered wall is not just a cosmetic concern. It often means the render has lost its bond to the surface behind it. Loose render repair deals with that failed bond before sections crack, lift or fall away, leaving masonry exposed to moisture and further deterioration.
On Melbourne properties, render is regularly exposed to driving rain, hot summer sun, cold mornings and movement within older walls. A sound repair must address why the render came loose, not simply cover the damaged area with a thin patch. That is the difference between a tidy short-term touch-up and a finish that performs for years.
What loose render looks and sounds like
Loose render does not always look dramatic at first. You may notice a hairline crack around a patch, a raised edge near a window opening, bubbling paint, or a section that appears slightly proud of the surrounding wall. In more advanced cases, the render may sound hollow when lightly tapped or crumble at the edge.
The hollow sound occurs because there is an air gap between the render coat and the substrate. Once that bond has broken, rainwater can find its way behind the finish. Moisture can then weaken adjoining areas, stain the surface and contribute to more widespread delamination.
If render is visibly bulging, breaking away, or located above an entry, walkway or outdoor living area, it should be assessed promptly. Loose material is a safety issue as well as a maintenance issue. Avoid pulling at it or attempting to glue it back into place, as the surrounding section may also be unsound.
Why render loses its bond
There is rarely one universal cause. A proper inspection considers the wall construction, age of the coating, exposure to weather, existing cracking and any signs of moisture. The most common causes include poor surface preparation, incorrect render mix or application, movement in the substrate, and water entering through cracks, flashings, cappings or unsealed penetrations.
Render needs a clean, stable and properly prepared base. Dust, old paint, salts, surface contamination or a weak underlying coating can prevent new render from adhering as intended. Applying render to a wall that is too dry, too wet or inadequately keyed can create the same problem.
Movement is another major factor. Brickwork, concrete, fibre cement and cladding systems all behave differently. Buildings also move slightly over time through settlement, temperature changes and structural loading. Where movement cracks have not been treated correctly, the render may split and progressively release from the wall.
On older homes, water is often the hidden issue. A leaking gutter, failed roof flashing, cracked coping, damaged sealant joint or poor drainage can keep part of a wall damp. Re-rendering over that area without fixing the source of water may make it look better temporarily, but the repair is likely to fail again.
Loose render repair starts with sound preparation
The right repair begins by identifying the full extent of loose material. The visibly damaged patch is not always the boundary of the problem. A renderer will tap-test surrounding sections and inspect cracks, wall junctions and moisture-prone details to determine where sound render ends.
All loose, drummy and poorly bonded render must be removed back to a firm edge. This is not a step to cut short. Leaving weak material behind a new patch creates a fragile repair line and can allow the defect to return beside the repaired section.
Once the area is opened up, the substrate is checked. Depending on the wall, this may involve removing dust and contaminants, treating salts, repairing masonry, filling deeper voids, installing appropriate reinforcement, or applying a bonding agent. Any active water entry needs to be rectified before new render is applied.
The replacement render is then selected to suit the existing wall and finish. Cement rendering can be appropriate for many masonry substrates and traditional finishes. Acrylic render systems offer flexibility and can be a practical choice where minor movement and weather resistance are priorities. The best option depends on the substrate, the surrounding finish, the location of the wall and the final texture required.
New material is built up in suitable coats rather than forced into the area in one heavy application. Each coat needs the correct thickness, curing time and preparation before the next is applied. The repaired section is then floated or textured to blend with the existing façade as closely as practical. A colour coating may be required across a broader area because even a well-matched patch can show if adjacent paintwork has faded or weathered.
When a patch repair is enough
A localised repair can be effective where the cause is isolated and the surrounding render remains firmly bonded. For example, a small section damaged by impact, a contained crack around an altered opening, or a patch affected by a previously repaired penetration may only require targeted work.
It is not always sensible to patch every visible defect, however. If large areas sound hollow, cracking appears across multiple elevations, or the coating is failing in layers, a broader restoration may offer better value. Repeated small patches can leave an uneven appearance and do little to resolve widespread adhesion problems.
This is where experienced assessment matters. The least expensive repair at the start is not necessarily the most economical outcome. Removing and reinstating a larger affected area may cost more initially, yet prevent repeat call-outs, repainting and damage to the wall behind the render.
Do not mistake paint failure for render failure
Peeling or blistering paint can look similar to loose render, but the remedy is different. If only the paint coating has failed and the render underneath is firm, sound and dry, preparation and repainting may be all that is needed. If the render itself moves, sounds hollow or sheds material, painting over it will not restore adhesion.
Likewise, a surface crack is not automatically evidence of loose render. Fine shrinkage cracks can sometimes be repaired within the coating system. Wider, recurring or stepped cracks may indicate movement in the masonry or substrate and should be investigated before any cosmetic work begins.
A clear diagnosis avoids unnecessary removal while ensuring serious defects are not hidden beneath new paint or texture.
Choosing a finish that suits the wall
Matching an existing render involves more than selecting a similar colour. The repair must align with the original profile, texture and level of the wall. Smooth trowel finishes, sand finishes, bagging-style textures and heavier architectural coatings all reflect light differently, so a small variation can become noticeable once the wall dries.
For homes being renovated, loose render repair can also be an opportunity to improve the wider façade. Repairing cracks, updating tired sections and applying a consistent finish can lift street appeal while protecting the substrate. On commercial buildings, a planned repair program can help maintain a professional presentation and reduce the risk of loose material around public areas.
Australian Rendering Company approaches repair work with the same focus as new rendering: sound preparation, suitable materials, clean workmanship and a finish designed for the conditions it will face.
How to reduce future render problems
Render performs best when the whole wall system is maintained. Keep gutters and downpipes clear, repair roof leaks promptly, and make sure ground levels and drainage do not direct water against the base of external walls. Check sealant around windows, doors, service penetrations and cappings, particularly after major weather events.
Do not pressure-clean rendered walls aggressively. High pressure can force water into fine cracks, damage coatings and dislodge already weakened material. Use an appropriate cleaning method and inspect the wall afterwards for cracks, staining or changes in the finish.
Most importantly, act when a small area first becomes hollow or cracked. Early attention usually means a smaller repair, less disruption and a better chance of preserving the surrounding render. A properly prepared repair protects more than the appearance of the wall - it protects the structure beneath it.